How To Make Cake Heart Cake – Easy Dessert Recipe Guide
Creating a heart-shaped cake does not require special equipment or professional skills. Whether you are planning a romantic Valentine’s Day surprise, celebrating an anniversary, or simply want to show someone you care, a heart cake makes a wonderful sweet gesture. In this guide, we show you how to transform ordinary round cake layers into a heart-shaped creation that looks like it came from a bakery.
The best part? You do not need to purchase a heart-shaped pan. With just two round cake pans and a simple cutting technique, you will learn how to craft a heart cake that will impress your loved ones. This beginner-friendly tutorial combines classic baking with a touch of creativity.

Ingredients and Tools You Will Need for Cake Heart Cake
For the Cake
- 2¼ cups all-purpose flour (280g)
- 2 cups granulated sugar (400g)
- ¾ cup unsweetened cocoa powder (90g) — for chocolate cake
- 2 teaspoons baking soda
- 1 teaspoon baking powder
- 1 teaspoon salt
- 2 large eggs, room temperature
- 1 cup buttermilk (240ml)
- ½ cup vegetable oil (120ml)
- 2 teaspoons vanilla extract
- 1 cup hot coffee or water (240ml)
For the Frosting
- 1½ cups unsalted butter, softened (340g)
- 5 cups powdered sugar, sifted (600g)
- ¼ cup heavy cream (60ml)
- 2 teaspoons vanilla extract
- ¼ teaspoon salt
- Food coloring (optional)
Tools
- Two 8-inch round cake pans
- Parchment paper
- Mixing bowls
- Electric mixer
- Serrated knife
- Offset spatula
- Cake turntable (helpful but optional)
- Piping bags and tips (optional for decoration)
Need More Baking Inspiration?
Explore our collection of simple, step-by-step dessert recipes for both new and experienced bakers.
Explore All Our Cake IdeasBaking the Perfect Cake Layers
Before shaping the heart, you need two round cake layers as your starting point. Follow these steps for moist, flavorful cake layers that hold their shape when cut.
Step 1: Prepare Your Pans
Preheat your oven to 350°F (175°C). Grease two 8-inch round cake pans and line the bottoms with parchment paper circles. This prevents sticking and makes removal much easier.
Step 2: Mix the Dry Ingredients
In a large bowl, whisk together the flour, sugar, cocoa powder (if making chocolate cake), baking soda, baking powder, and salt until well combined.
Step 3: Add Wet Ingredients
Mix in the eggs, buttermilk, vegetable oil, and vanilla extract with the dry ingredients. Beat on medium speed for about 2 minutes until smooth. Slowly add the hot coffee or water and mix until just combined. The batter will be quite thin — that is normal.
Step 4: Bake the Cakes
Divide the batter evenly between the prepared pans. Bake for 30–35 minutes, or until a toothpick inserted into the center comes out clean or with just a few moist crumbs.
Step 5: Cool Completely
Allow the cakes to cool in the pans for 10 minutes, then remove them and transfer to a wire rack to cool completely. Working with fully cooled cakes is essential for clean cutting and proper frosting.

Shaping Your Heart Cake
Now for the fun part — transforming round cakes into a heart shape using a simple cutting technique. No special pans required.
Step 1: Level Your Cakes
Using a serrated knife, carefully level the tops of both cake layers by slicing off any domed portions. This creates flat surfaces that stack evenly.
Step 2: Cut the Heart Shape
Set the first cake layer on your work surface and use a serrated knife to slice it evenly in half. Then rotate one half 90 degrees and position it against the straight edge of the other half to form the top of the heart. The curved edges of both pieces will create the rounded top of the heart.
Step 3: Trim for Perfect Shape
Make any additional cuts needed to refine the heart shape. You can use a paper template as a guide for more precision. Repeat this process with the second cake layer.
Step 4: Prepare for Assembly
Place a small dollop of frosting on your cake board or serving plate to anchor the cake. Position the bottom heart layer with the point facing down.

Looking for More Heart-Themed Desserts?
Explore our dessert recipe collection — great for Valentine’s Day, anniversaries, or any special occasion.
More Cake RecipesFrosting and Assembling Your Heart Cake
With the heart-shaped cake layers ready, it is time to frost and assemble them. This is where you can add your personal touch.
Step 1: Make the Buttercream
In a large bowl, beat the softened butter until smooth and creamy. Gradually add the sifted powdered sugar, alternating with small amounts of heavy cream. Add the vanilla extract and salt, then beat on medium-high speed for 3–5 minutes until light and fluffy. If desired, add food coloring and stir until evenly blended.
Step 2: Apply the Filling
Set your bottom heart layer on the cake board or serving plate. Spread about 1 cup of buttercream evenly over the top, leaving a small border around the edges to avoid overflow.
Step 3: Stack and Crumb Coat
Carefully position the second heart layer on top, aligning the edges. Apply a thin layer of frosting all over the cake — this is the crumb coat. It seals in any loose crumbs and provides a smooth base for the final layer of frosting.

Step 4: Chill the Cake
Refrigerate the crumb-coated cake for at least 30 minutes. This firms up the frosting and makes the final coat much easier to apply smoothly.
Step 5: Apply the Final Coat
Remove the chilled cake from the refrigerator and apply a generous, even layer of frosting all over. Use an offset spatula or bench scraper to smooth the sides and top. For a polished finish, dip your spatula in hot water, wipe it dry, and then smooth the frosting.

Creative Decoration Ideas for Your Heart Cake
Now that the cake is frosted, it is time to add decorative touches that make it truly special. Here are some ideas to get you started:
Classic Romance

Create a border of piped rosettes in varying shades of pink and red. Add small fondant hearts or chocolate curls for an elegant finish.
Ombré Effect
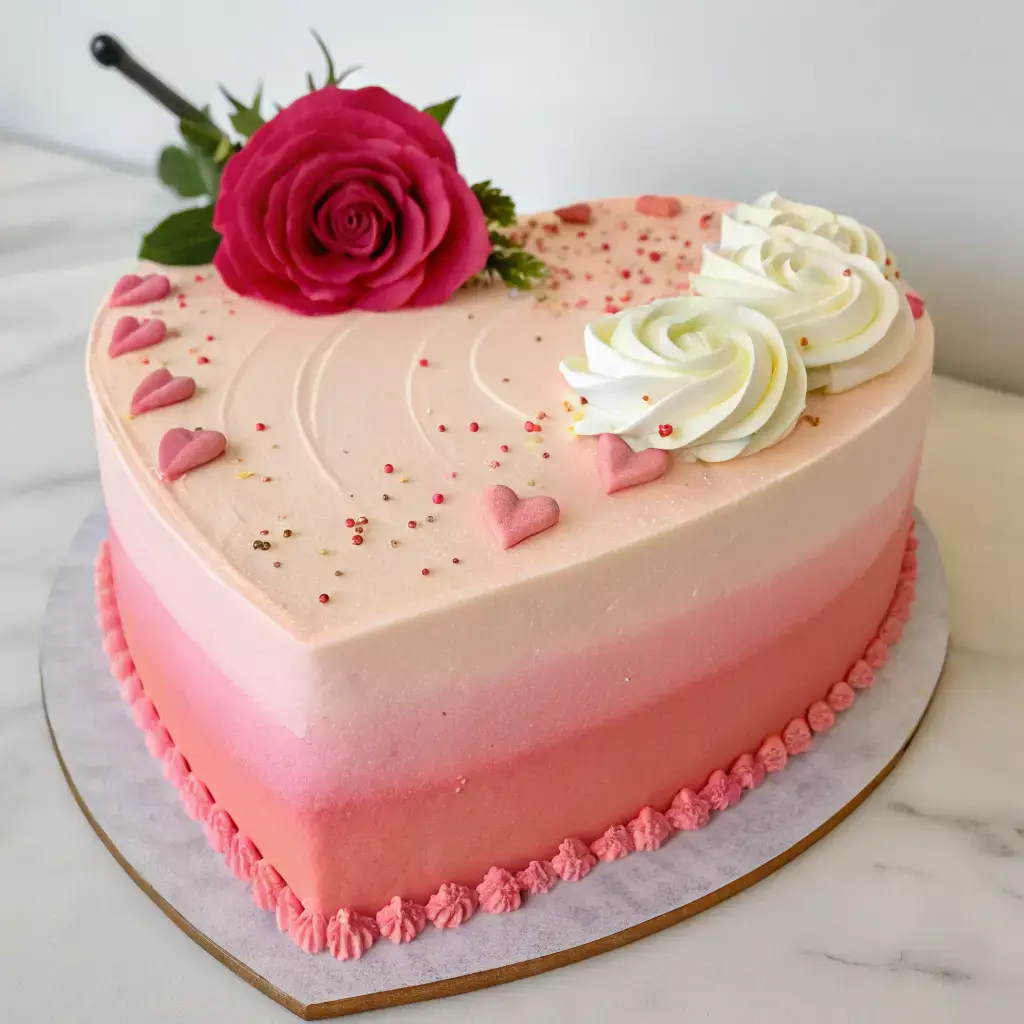
Blend different shades of the same color — light pink to deep red, or sky blue to navy — for a gradient effect that adds dimension and visual interest.
Rustic Charm

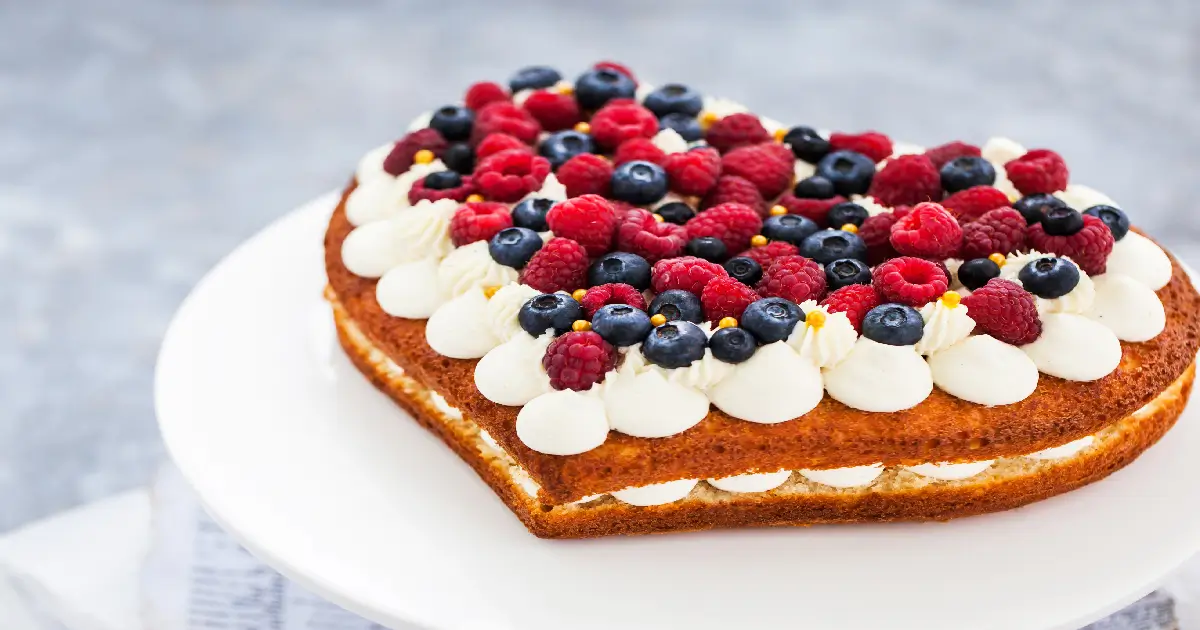
Create a textured finish with an offset spatula, then decorate with fresh berries and edible flowers for a natural, garden-inspired look.
Simple Piping Techniques
Even beginners can create appealing decorations with basic piping techniques:
- Shell Border: Great for framing the top and bottom edges of your cake
- Dots: Create patterns or write messages with simple dots of varying sizes
- Rosettes: Small swirled flowers that look detailed but are easy to pipe
- Ruffles: Create romantic, fabric-like textures around the sides of your cake

Edible Embellishments
Take your heart cake to the next level with these edible decorations:
- Fresh berries (strawberries, raspberries, blueberries)
- Edible flowers (roses, violets, pansies)
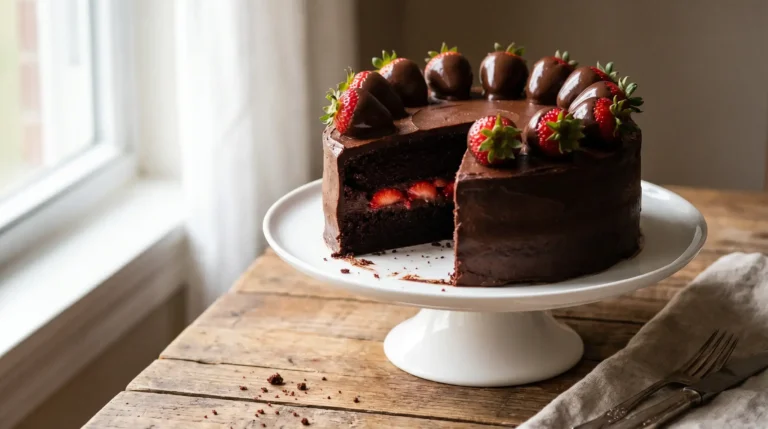
- Chocolate-covered strawberries
- Gold or silver edible leaf
- Chocolate shavings or curls
- Colorful sprinkles or dragées

Ready to Try More Decorating Techniques?
Explore our collection of cake decorating tutorials and take your baking skills to the next level!
Explore All Our Cake IdeasHeart Cake Recipe Card
| Prep Time | Cook Time | Chill Time | Total Time |
|---|---|---|---|
| 30 minutes | 35 minutes | 30 minutes | ~2 hours |
| Servings | Calories | Difficulty | Author |
|---|---|---|---|
| 10–12 slices | 420 per slice | Beginner | Dessert Recipes Lab |
Nutrition Information
| Nutrient | Per Slice |
|---|---|
| Calories | 420 kcal |
| Total Fat | 20g |
| Saturated Fat | 10g |
| Carbohydrates | 58g |
| Sugar | 44g |
| Protein | 4g |
| Sodium | 340mg |
Ingredients
For the Cake:
- 2¼ cups all-purpose flour (280g)
- 2 cups granulated sugar (400g)
- ¾ cup unsweetened cocoa powder (90g)
- 2 teaspoons baking soda
- 1 teaspoon baking powder
- 1 teaspoon salt
- 2 large eggs, room temperature
- 1 cup buttermilk (240ml)
- ½ cup vegetable oil (120ml)
- 2 teaspoons vanilla extract
- 1 cup hot coffee or water (240ml)
For the Frosting:
- 1½ cups unsalted butter, softened (340g)
- 5 cups powdered sugar, sifted (600g)
- ¼ cup heavy cream (60ml)
- 2 teaspoons vanilla extract
- ¼ teaspoon salt
- Food coloring (optional)
Instructions
- Preheat oven to 350°F (175°C). Grease and line two 8-inch round cake pans with parchment paper.
- Whisk together flour, sugar, cocoa powder, baking soda, baking powder, and salt in a large bowl.
- Add eggs, buttermilk, oil, and vanilla. Beat on medium for 2 minutes. Stir in hot coffee or water until just combined.
- Divide batter evenly between pans. Bake 30–35 minutes until a toothpick comes out clean.
- Cool in pans 10 minutes, then transfer to wire racks to cool completely.
- Level the tops of both layers with a serrated knife.
- Slice each layer in half. Rotate one half 90 degrees and join the two halves to form the top curves of a heart. Repeat for the second layer.
- Beat butter until smooth. Gradually add powdered sugar and cream. Add vanilla and salt. Beat 3–5 minutes until fluffy.
- Place the bottom heart layer on your cake board. Spread 1 cup of frosting over the top.
- Stack the second layer, apply a thin crumb coat, then refrigerate for 30 minutes.
- Apply a final generous coat of frosting, smooth, and decorate as desired.
Notes
- No buttermilk? Mix 1 tablespoon of white vinegar or lemon juice into 1 cup of milk and let sit 5 minutes.
- Save cake scraps for cake pops or trifles — nothing goes to waste.
- Store frosted cake in the refrigerator for up to 3–4 days. Bring to room temperature 30 minutes before serving.
- Unfrosted layers can be frozen for up to 2 months wrapped tightly in plastic wrap and foil.
Frequently Asked Questions About Heart Cake
Can I use a box cake mix for this heart cake?
Yes! Box cake mixes work well for this technique. To enhance the flavor, try adding an extra egg, substituting milk for water, or adding a teaspoon of vanilla extract. The shaping technique works the same regardless of whether you use a homemade or box mix recipe.
How far in advance can I make this cake?
You can bake the cake layers 1–2 days in advance and store them wrapped tightly in plastic wrap at room temperature. Once frosted, the cake will stay fresh in the refrigerator for up to 3–4 days. For best taste and texture, bring the cake to room temperature for about 30 minutes before serving.
Can I freeze this cake?
Yes! Freeze unfrosted cake layers for up to 2 months. Wrap them individually in plastic wrap and then in aluminum foil. A fully decorated cake can be frozen for up to 1 month — place it in the freezer unwrapped until firm, then wrap carefully in plastic wrap followed by foil. Thaw overnight in the refrigerator before serving.
What other flavors work well for a heart cake?
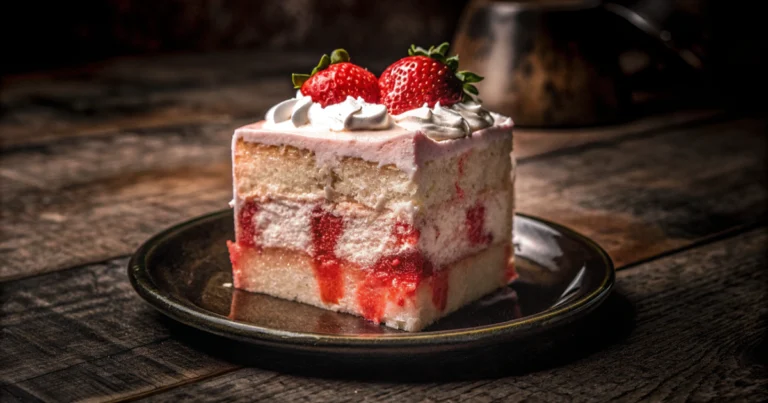
While chocolate and vanilla are classics, many flavors work well for a heart cake. Try red velvet for Valentine’s Day, strawberry for a fruity option, or lemon for a refreshing twist. You can also experiment with different fillings like raspberry jam, chocolate ganache, or lemon curd to complement your cake.
How do I transport my heart-shaped cake safely?
Chill the cake thoroughly first — at least 2 hours in the refrigerator. Use a cake carrier with a secure lid, or place the cake on a sturdy board and carefully box it. Fill any gaps in the box with crumpled paper towels to prevent sliding. Keep the cake level during transport and avoid hot cars, which can melt the frosting.

Create Your Perfect Heart Cake Today
Creating a heart-shaped cake does not require special equipment or professional skills — just two round cake pans and a little creativity. Whether you are celebrating Valentine’s Day, an anniversary, or simply want to show someone you care, this heart cake is sure to bring a smile.
Remember that practice makes perfect, and even if your first attempt is not flawless, it will still be delicious and made with love. The joy of baking is in the process as much as the result, so have fun with it.

Ready for More Baking Adventures?
Discover our full collection of cake recipes and decorating tutorials for every occasion!
Explore All Our Cake Recipes