Snow Ice Cream Recipe: Easy Homemade Treat
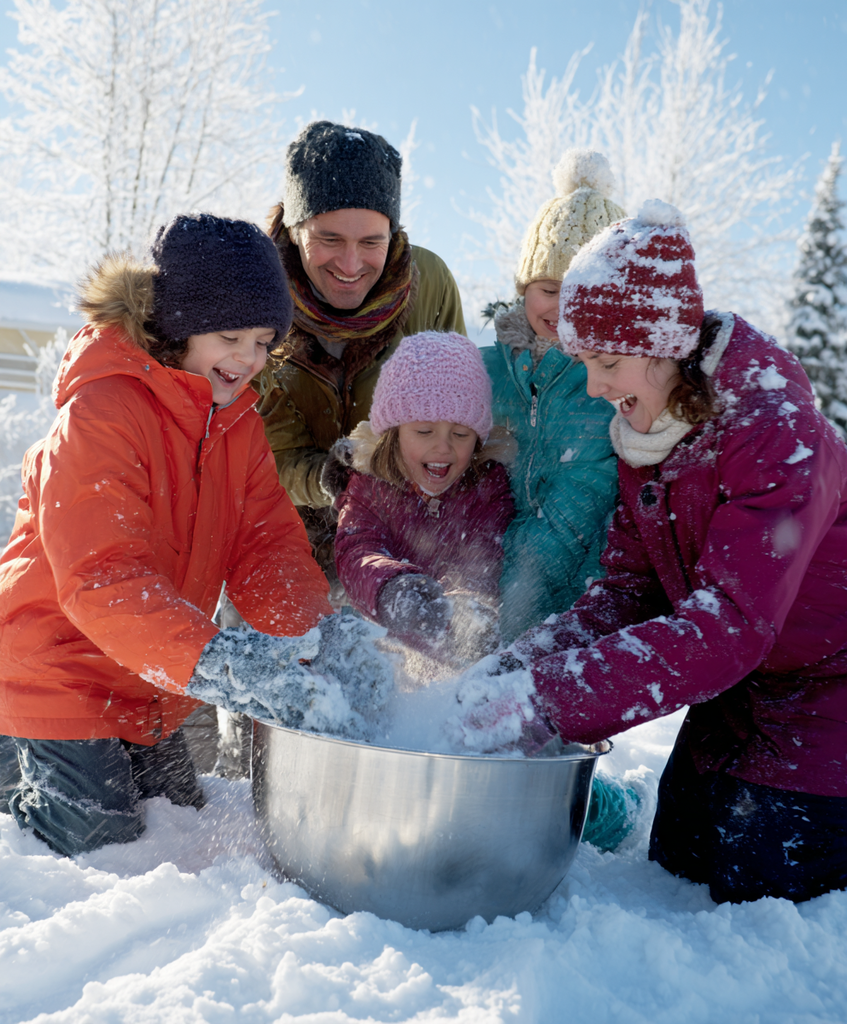
Imagine stepping outside after a fresh snowfall, gathering pristine white snow, and transforming it into a creamy dessert within minutes. Snow ice cream is a beloved winter tradition that brings joy to children and adults alike, creating memories that last a lifetime.
This simple treat requires just a few basic ingredients and fresh snow. Whether you are experiencing your first snow day or continuing a cherished family tradition, making snow ice cream is a great way to celebrate winter and create sweet moments with loved ones.
Why This Snow Ice Cream Recipe Works
This snow ice cream recipe is great for winter days when you are looking for a fun activity that doubles as a tasty treat. It requires minimal ingredients that you likely already have in your pantry, making it an ideal spontaneous dessert when the snow starts falling.
- Quick and Easy — This snow ice cream comes together in just minutes with minimal ingredients. It is the perfect spontaneous activity when fresh snow arrives, requiring no special equipment or cooking skills.
- Kid-Friendly Fun — Children love helping gather snow and mix the ingredients, making this an interactive winter activity the whole family can enjoy. The process is almost as fun as eating the finished treat!
- Customizable Flavors — While the classic vanilla version is great, this recipe can easily be adapted with different extracts, mix-ins, and toppings to create endless flavor combinations that suit everyone’s preferences.
Ingredients for Snow Ice Cream
Before heading outside to collect your snow, make sure you have these ingredients ready. The beauty of snow ice cream lies in its simplicity — just a few pantry staples to transform fresh snow into a tasty frozen treat.
For the Snow Ice Cream Base:
- Fresh, clean snow — 8–10 cups (collect from a clean, untouched area)
- Sweetened condensed milk — 1 can (14 oz)
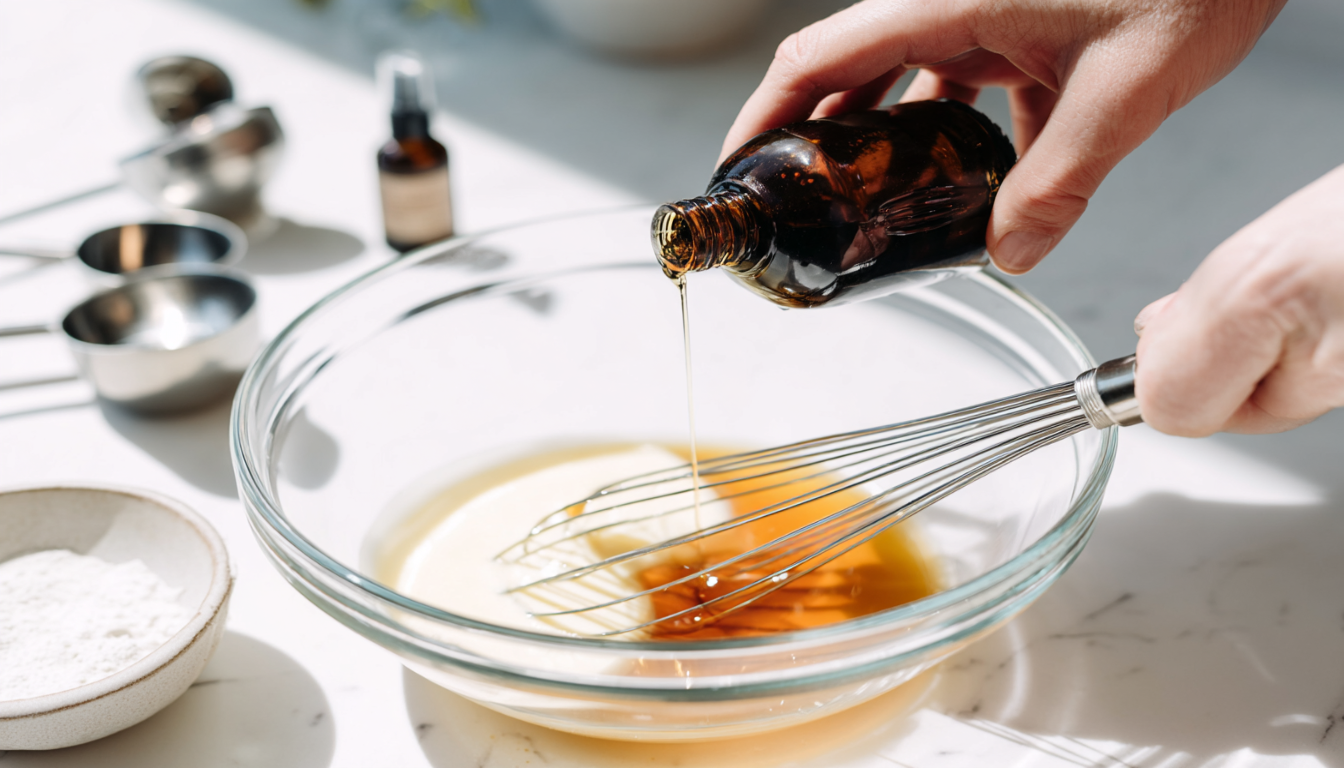
- Vanilla extract — 1 teaspoon
- Salt — a tiny pinch (enhances flavor)
Optional Flavor Variations:
- Chocolate — 2–3 tablespoons unsweetened cocoa powder
- Maple — 2 tablespoons pure maple syrup (reduce condensed milk slightly)
- Fruit — ¼ cup pureed strawberries or other fruit
- Mint — ½ teaspoon mint extract and optional green food coloring
- Cinnamon — ½ teaspoon ground cinnamon
- Almond — ½ teaspoon almond extract
- Coffee — 1 tablespoon instant coffee dissolved in 1 tablespoon hot water, cooled
Tips for Collecting the Right Snow
The foundation of great snow ice cream lies in collecting clean, fresh snow. With the right approach, you can ensure your snow ice cream starts with the best possible base ingredient.
Finding Clean Snow
Always collect snow from a clean, untouched area away from roads, walkways, and areas where animals may have been. The top layer of fresh snowfall is typically the cleanest. For extra caution, skip the very first snowfall of the season, as it may contain more environmental particles. Wait for the second or third good snow of winter for the purest results.
Collection Containers
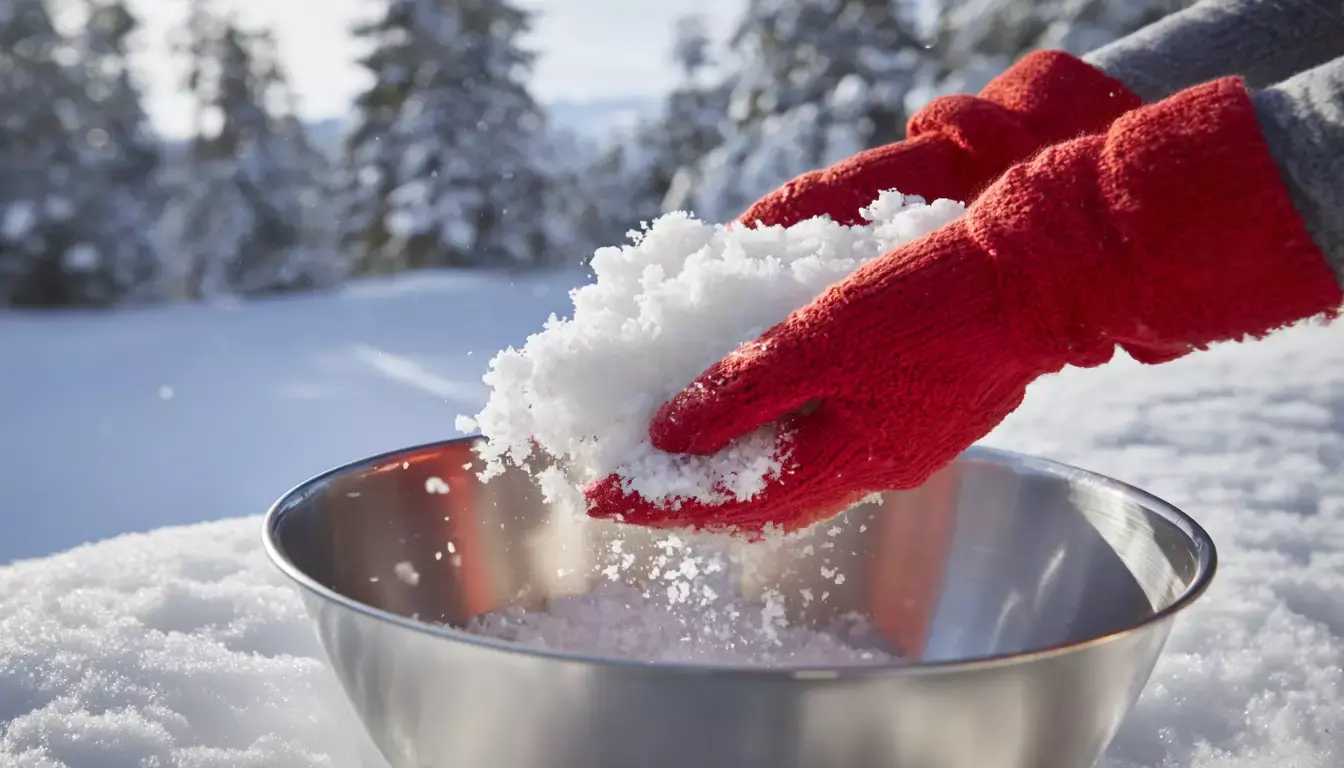
Use a clean, large bowl or pot for collecting snow. Metal or glass containers work well as they do not transfer unwanted flavors to the snow. Avoid plastic containers that may have lingering food odors. For the fluffiest results, collect fresh, powdery snow rather than wet, heavy, or partially melted snow.
Timing Matters
Collect your snow right before you plan to make the ice cream — fresh snow will give the best texture. If a snowstorm is predicted, prepare your liquid ingredients ahead of time so they are ready when the snow arrives. Snow compacts significantly, so gather more than you think you will need. About 8–10 cups of fresh snow typically yields 4–6 servings.
Safety Considerations
While eating snow is generally safe in most areas, use common sense when collecting. Avoid visibly dirty snow or snow from areas with pollution concerns. If you are worried about air quality in your area, shaved ice is a fine alternative. For those with compromised immune systems, very young children, or elderly family members, store-bought shaved ice may be a safer option.
Step-by-Step Snow Ice Cream Recipe
Follow this process to create snow ice cream in just minutes. The key is to work quickly once you have collected your snow to prevent excessive melting before serving.
Preparing Your Liquid Base
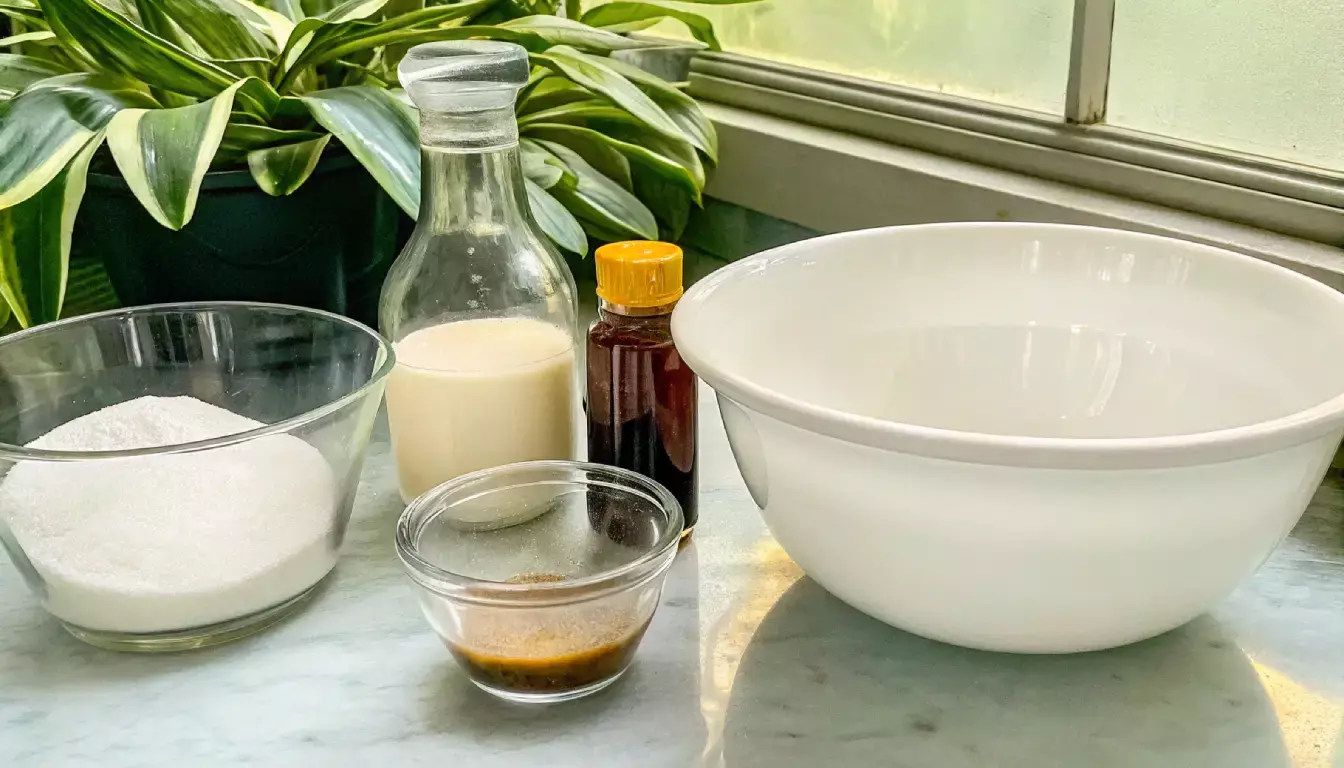
Before collecting snow, prepare your liquid base by mixing the sweetened condensed milk, vanilla extract, and a tiny pinch of salt in a large bowl. This mixture forms the sweet, creamy foundation of your snow ice cream. If you are making a flavored variation, add those ingredients now — for chocolate snow ice cream, whisk in cocoa powder until smooth; for fruit versions, stir in pureed fruit.
Base tips: Sweetened condensed milk creates the creamy texture. Vanilla extract adds classic flavor depth. A pinch of salt enhances the sweetness.
- Prepare the base: In a large bowl, mix together one 14-ounce can of sweetened condensed milk, 1 teaspoon of vanilla extract, and a tiny pinch of salt until well combined. If adding flavor variations like cocoa powder or fruit puree, incorporate them now.
- Collect fresh snow: Using a clean container, gather 8–10 cups of fresh, clean snow from an untouched area. Collect the snow right before you plan to make the ice cream for the best texture.
- Combine ingredients: Gradually add the snow to your liquid base, folding gently with a spatula or wooden spoon. Add snow one cup at a time, incorporating each addition before adding more. Continue until you reach a consistency similar to soft-serve ice cream.
- Adjust consistency: If the mixture is too runny, add more snow. If it is too firm or powdery, add a little more sweetened condensed milk. The snow ice cream should be fluffy yet scoopable.
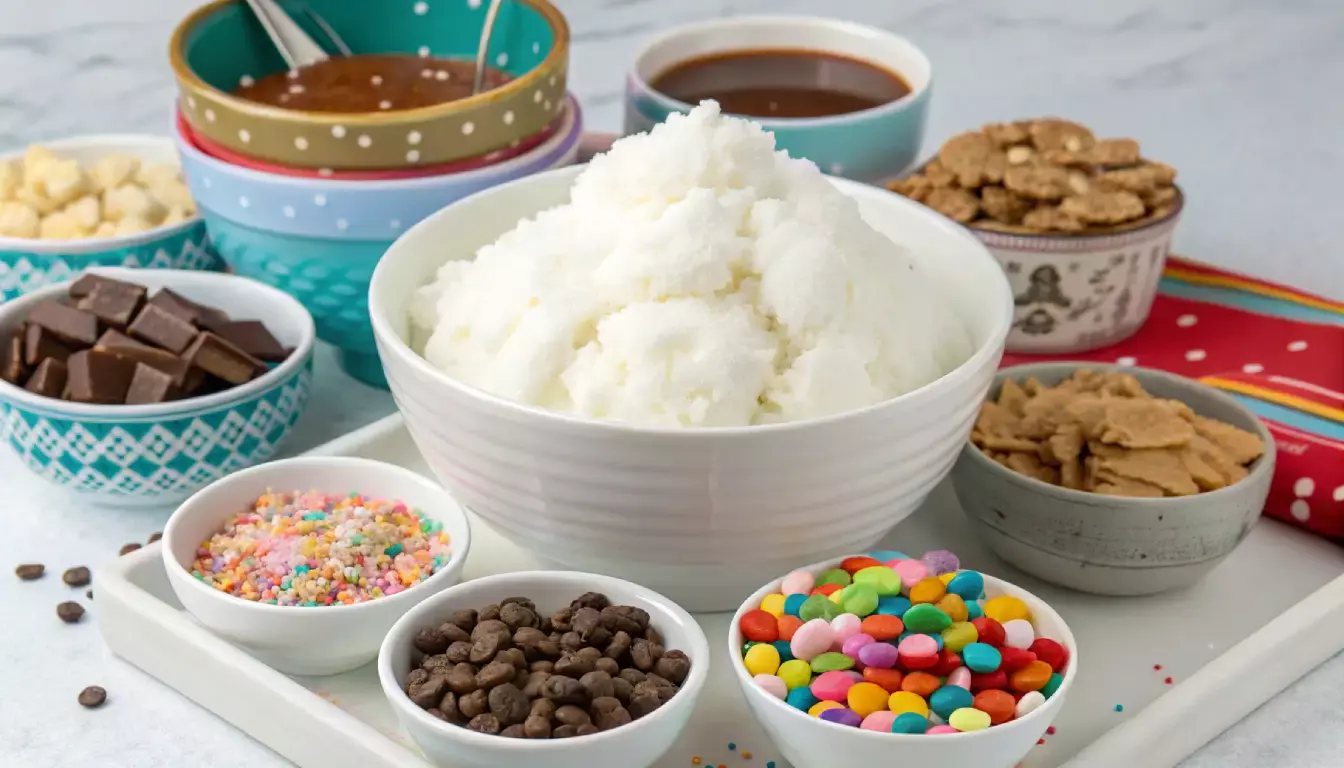
- Add mix-ins: If desired, gently fold in optional mix-ins like mini chocolate chips, crushed cookies, or sprinkles. Be careful not to overmix, as this can cause the snow to melt too quickly.
- Serve immediately: Scoop the snow ice cream into bowls and serve right away for the best texture and flavor. Add any desired toppings like chocolate sauce, caramel, or additional sprinkles.
Achieving the right consistency: The snow ice cream should resemble soft-serve. If your mixture becomes too runny, add more snow. If it is too firm or powdery, add a little more sweetened condensed milk. Snow ice cream will continue to melt, so it is best served immediately. For a firmer texture, place the finished batch in the freezer for 15–20 minutes — though be aware it may develop ice crystals if stored too long.
Flavor Variations for Snow Ice Cream
While the classic vanilla snow ice cream is great on its own, experimenting with different flavors can make this winter treat even more enjoyable. Here are some creative variations to try.
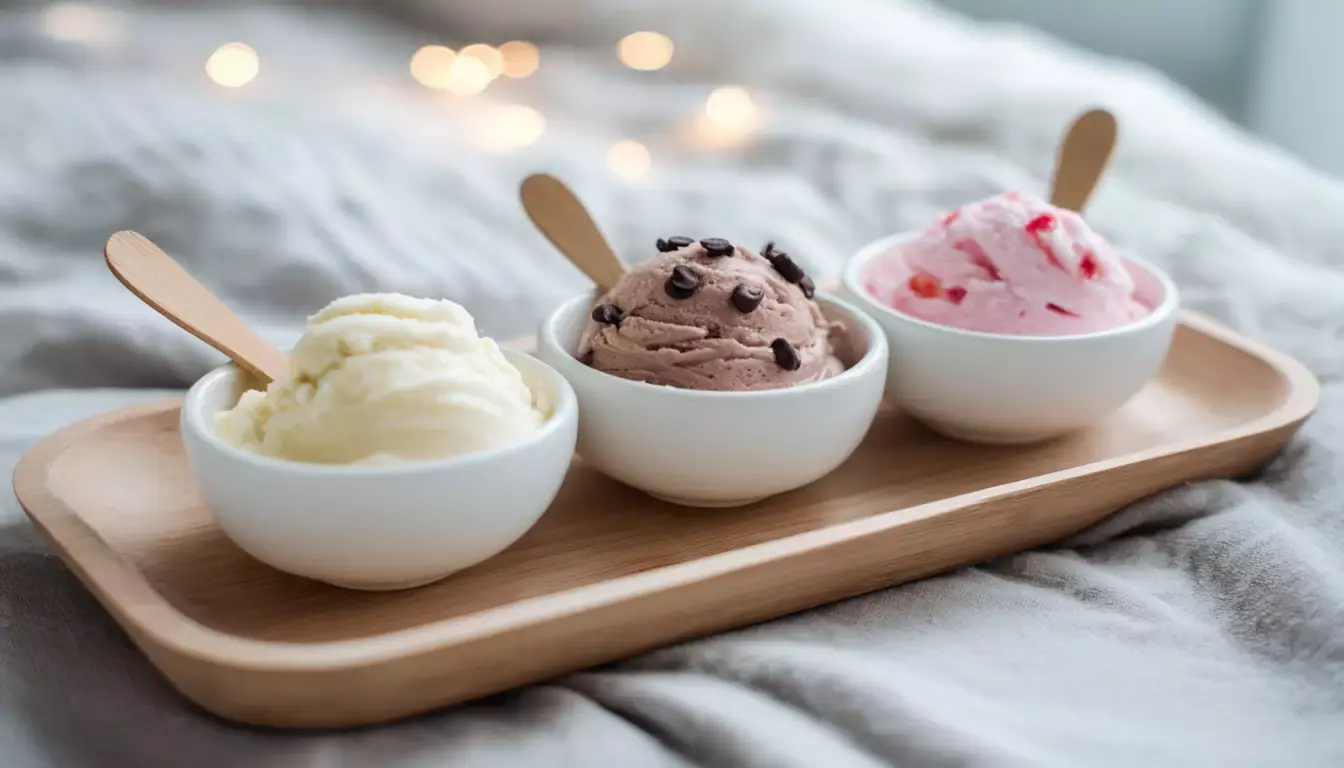
Chocolate Version
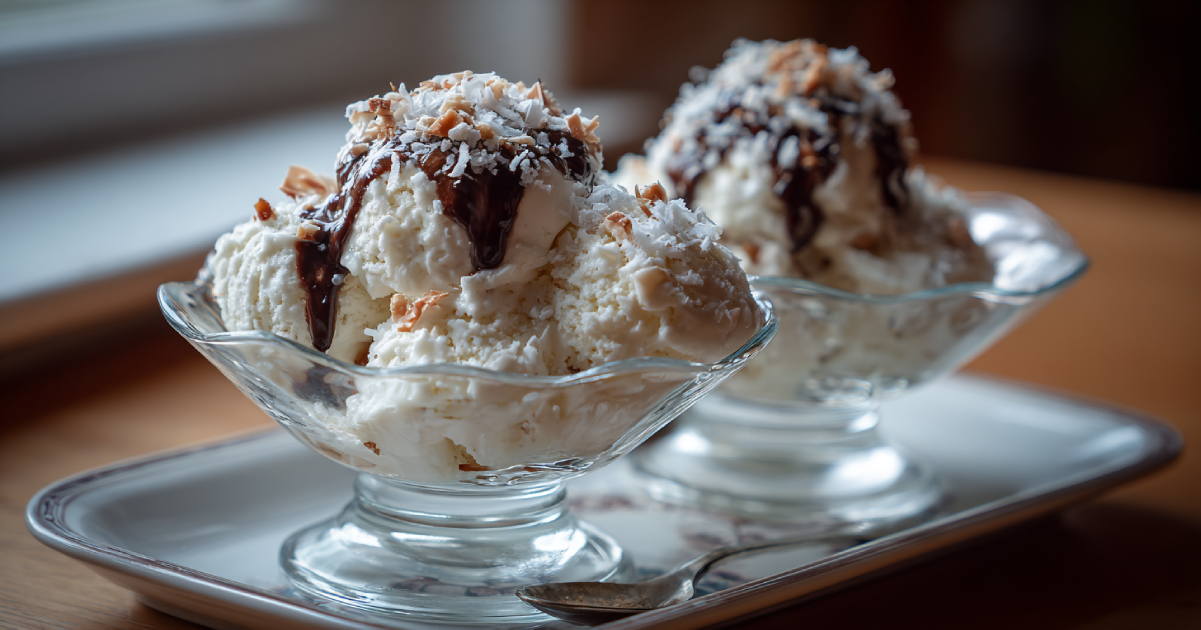
Add 2–3 tablespoons of unsweetened cocoa powder to your sweetened condensed milk base. For an even richer treat, fold in mini chocolate chips or drizzle with chocolate sauce before serving. This variation is always a hit with children and chocolate lovers.
Fruit-Infused
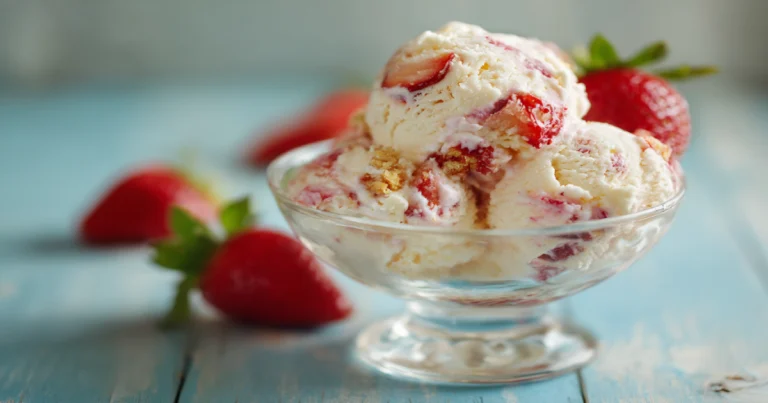
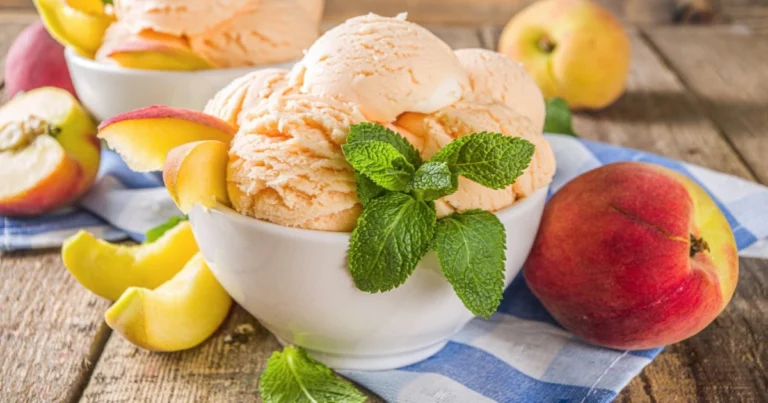
Create fruity snow ice cream by adding ¼ cup of pureed strawberries, blueberries, or peaches to your base mixture. For a quicker option, stir in 2 tablespoons of jam or preserves. These fruit variations add great color and fresh flavor.
Gourmet Combinations
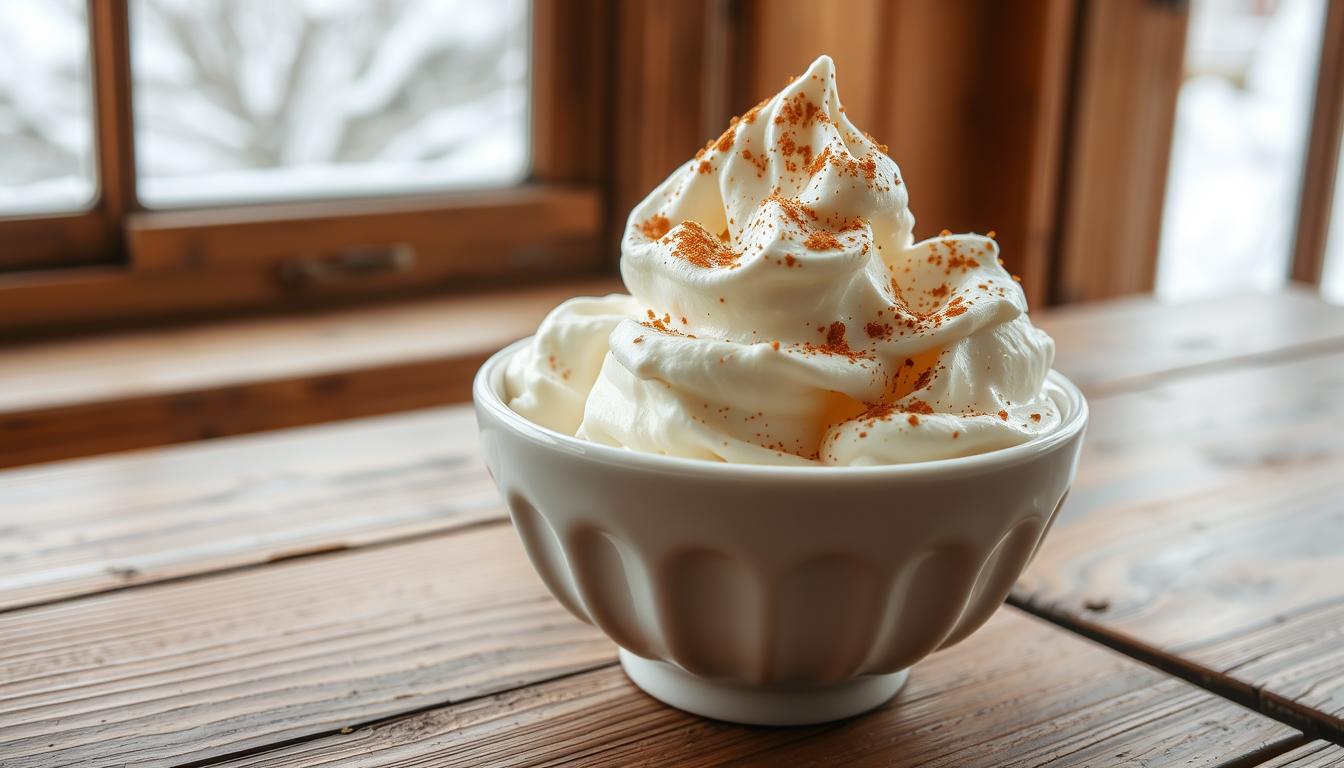
Try maple-cinnamon (2 tablespoons maple syrup + ½ teaspoon cinnamon), coffee (1 tablespoon dissolved instant coffee), or mint chocolate chip (½ teaspoon mint extract + a few drops green food coloring + mini chocolate chips). These unique flavors turn simple snow ice cream into an impressive dessert.
These variations allow you to customize your snow ice cream based on preferences and available ingredients. Do not be afraid to experiment with your favorite flavors and create your own signature recipe.
Serving and Storage Tips
Snow ice cream is best enjoyed immediately after making it, but with a few tricks you can create a more special serving experience and extend its life if needed.
Creative Serving Ideas
Serve your snow ice cream in chilled bowls or mugs to help it hold its consistency longer. For a fun presentation, use ice cream cones, chocolate-dipped waffle bowls, or mason jars. Set up a snow ice cream sundae bar with toppings like chocolate sauce, caramel, sprinkles, crushed cookies, and fresh fruit so everyone can customize their own dessert.
Short-Term Storage
Snow ice cream is best enjoyed immediately after preparation, as it melts quickly and can develop ice crystals when refrozen. If you need to store leftovers, transfer the snow ice cream to an airtight container and place it in the freezer for up to 24 hours. Be aware that the texture will change, becoming more icy and less creamy upon refreezing.
- Immediate consumption — For best texture and flavor, enjoy snow ice cream right after making it.
- Short freezer storage — Store in an airtight container for up to 24 hours if necessary.
- Texture changes — Expect a more icy consistency after refreezing.
Make-Ahead Options
If you are expecting a snowfall and want to be prepared, mix the liquid base ingredients (sweetened condensed milk, vanilla, and any flavor additions) ahead of time and store in the refrigerator for up to 3 days. When the snow arrives, simply collect it and combine with your pre-made base. For a snow ice cream party, prepare several different flavor bases in advance, label them, and let guests add their own snow and mix-ins for a fully customized experience.
Nutritional Information
This homemade snow ice cream is a fun occasional treat. Here is the approximate nutritional breakdown per serving (about 1 cup):
| Nutrient | Amount | % Daily Value* |
|---|---|---|
| Calories | 220 kcal | 11% |
| Total Fat | 6g | 8% |
| Saturated Fat | 4g | 20% |
| Cholesterol | 25mg | 8% |
| Sodium | 95mg | 4% |
| Total Carbohydrates | 37g | 12% |
| Dietary Fiber | 0g | 0% |
| Sugars | 37g | 74% |
| Protein | 6g | 12% |
*Percent Daily Values are based on a 2,000 calorie diet.
Frequently Asked Questions
Is it safe to eat snow?
Generally, it is safe to eat clean, fresh snow collected from untouched areas away from roads and pollution sources. Avoid the first snowfall of the season, as it may contain more environmental particles. If you have concerns about air quality in your area, you can substitute with store-bought shaved ice instead.
Can I use regular milk instead of sweetened condensed milk?
Yes, you can use regular milk, but you will need to add sugar. Mix 1 cup of milk with ¼ cup of sugar and 1 teaspoon of vanilla extract. The texture will be less creamy than with sweetened condensed milk. For a dairy-free version, try coconut milk with sugar or maple syrup.
How much snow do I need to collect?
Collect 8–10 cups of fresh, fluffy snow for a standard recipe serving 4–6 people. Snow compacts significantly when mixed with the liquid ingredients, so it is better to gather more than you think you will need. The exact amount will vary depending on how light and fluffy your snow is.
Why is my snow ice cream too runny?
If your snow ice cream is too runny, you may not have added enough snow, or the snow may have started melting before mixing. Add more fresh snow gradually until you reach the desired consistency. Working quickly and using very cold bowls can help prevent premature melting.
Can I make snow ice cream without snow?
Yes! If you do not have access to fresh snow, you can use crushed ice or shaved ice as a substitute. Process ice in a blender or food processor until it reaches a snow-like consistency. Another option is to make a traditional no-churn ice cream with sweetened condensed milk and whipped cream.
More Winter Treat Recipes You Will Love
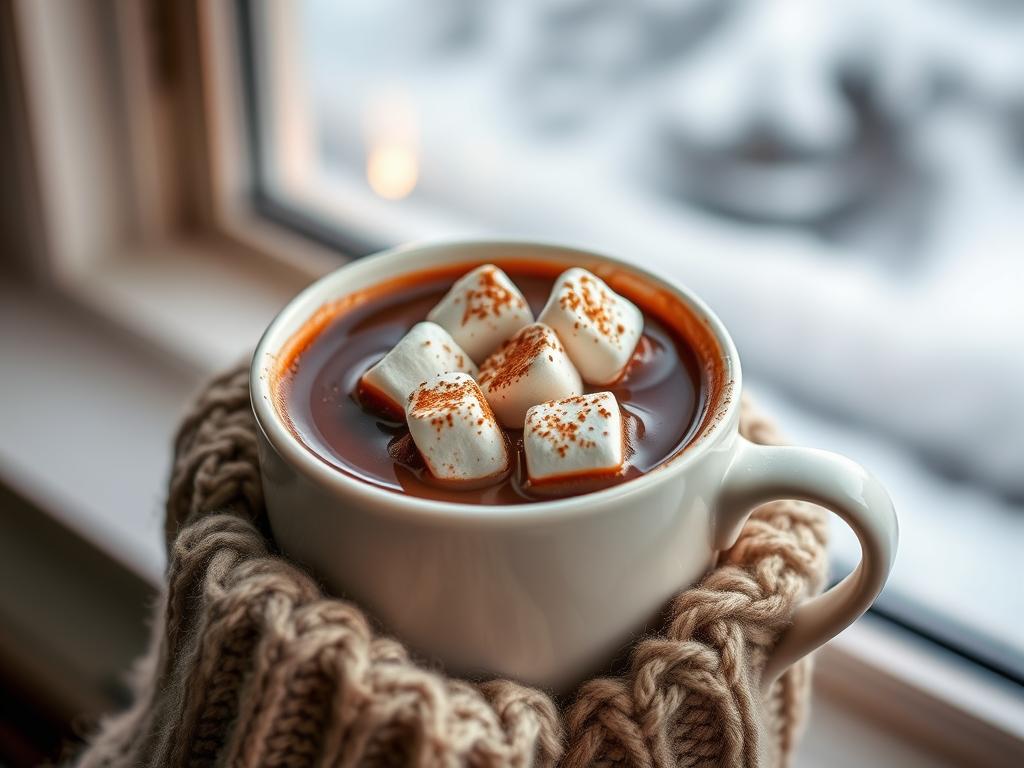
Homemade Hot Chocolate
Rich, creamy hot chocolate made with real chocolate and topped with fluffy marshmallows — the ideal companion to snow ice cream on a cold winter day.
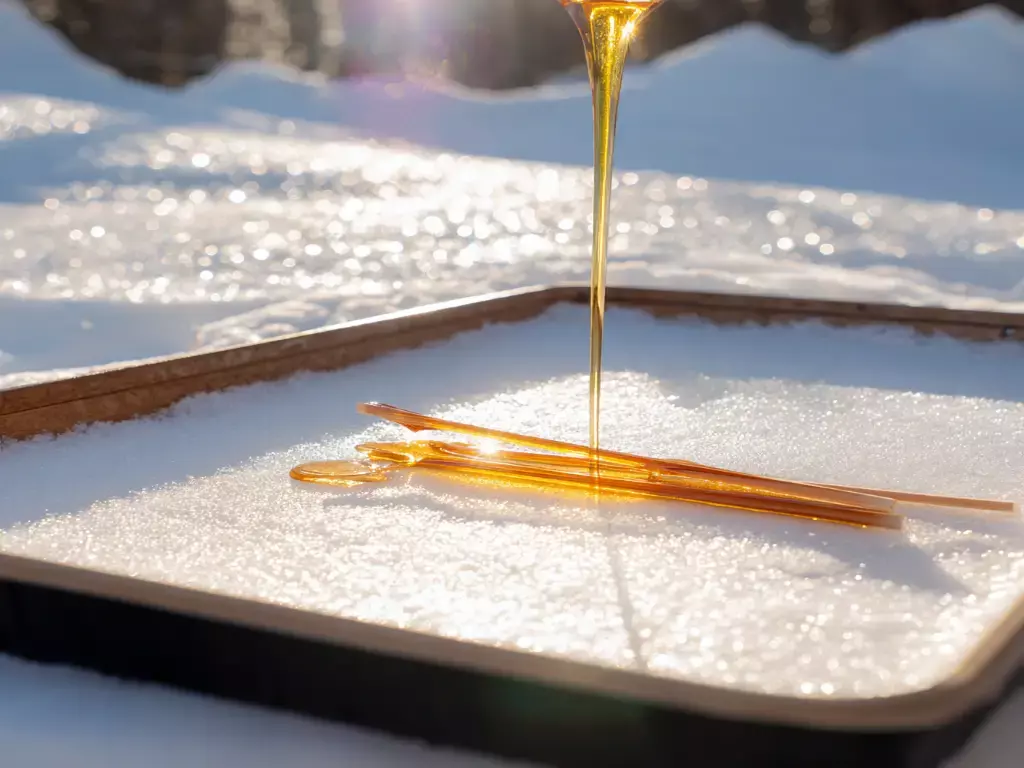
Maple Snow Taffy
Another classic snow treat! Learn how to make maple taffy by pouring hot maple syrup onto fresh snow for a chewy, sweet candy that is ready in minutes.

Snowflake Sugar Cookies
Buttery sugar cookies cut into snowflake shapes and decorated with royal icing — a beautiful winter treat that pairs well with snow ice cream.
Snow ice cream is a fun winter tradition that is easy to make and great for the whole family. With just a few ingredients and fresh snow, you can create a treat that celebrates the wonder of winter.
Remember that the key to great snow ice cream is using clean, fresh snow and working quickly once you have collected it. Do not be afraid to experiment with different flavors and mix-ins to create your own signature recipe.
While snow ice cream is best enjoyed immediately after making it, you can prepare your liquid base ahead of time so you are ready when the snow starts falling. Whether you are introducing children to this nostalgic treat for the first time or continuing a cherished family tradition, snow ice cream creates sweet memories that will last long after the snow has melted.
Check Out More Dessert Recipes
Browse our collection of easy and delicious dessert recipes.
Read MoreGet Your Free Snow Ice Cream Recipe Printable
Print our snow ice cream recipe card with measurements, instructions, and flavor variations — great for your recipe collection!