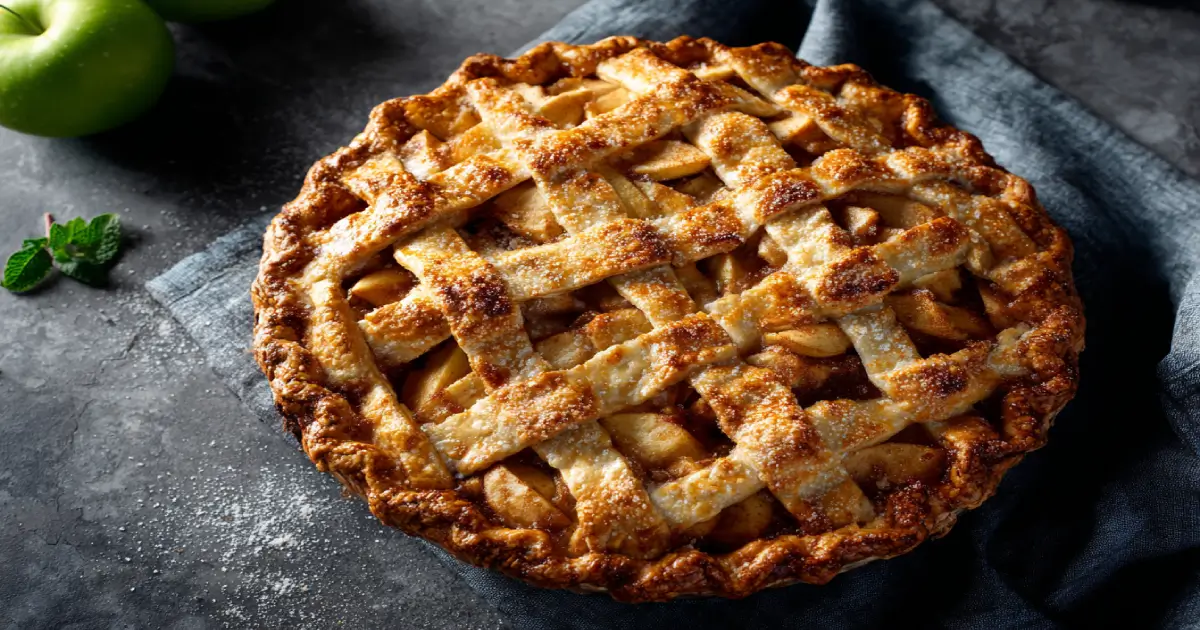
Gluten Free Apple Pie Recipe – Step-By-Step Guide
Imagine sinking your teeth into a slice of warm apple pie, the flavors of tender apples and a flaky crust melding together — all without worrying about gluten. You are not alone; millions are now enjoying their favorite desserts thanks to innovative gluten-free recipes.
Creating a gluten-free apple pie that is as delicious as its traditional counterpart is now easier than ever. With the right ingredients and a simple recipe, you can craft a pie that everyone will love. Whether it is for a holiday gathering or a family dinner, this pie is sure to become a staple in your dessert repertoire.
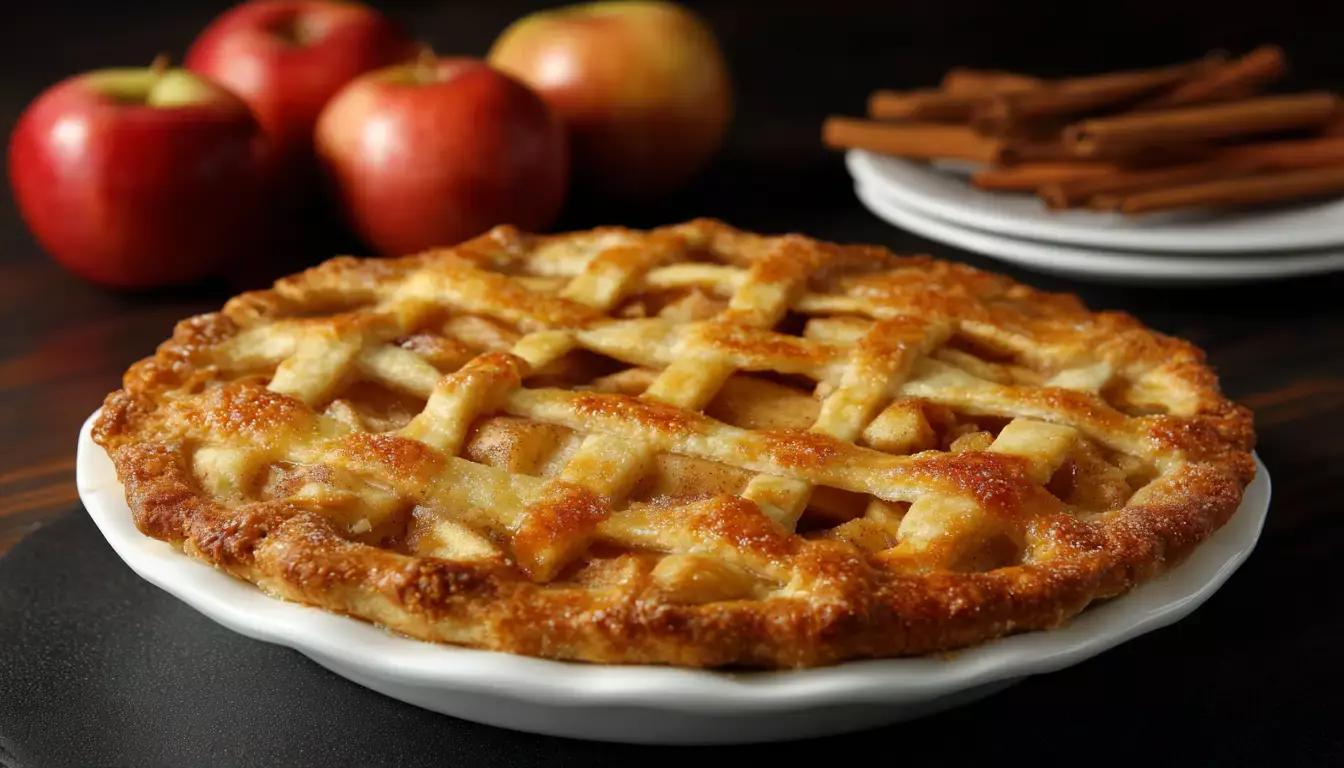
You will discover the secrets to a perfect crust and a delicious apple filling, making your pie a hit with both gluten-sensitive individuals and those without dietary restrictions.
Why This Gluten Free Apple Pie Recipe Works
This gluten-free apple pie recipe is ideal for those with gluten sensitivity or celiac disease. It provides a delicious dessert option that everyone can enjoy, regardless of dietary restrictions. The gluten-free flour blend used in the crust ensures that the pie remains tender and flaky.
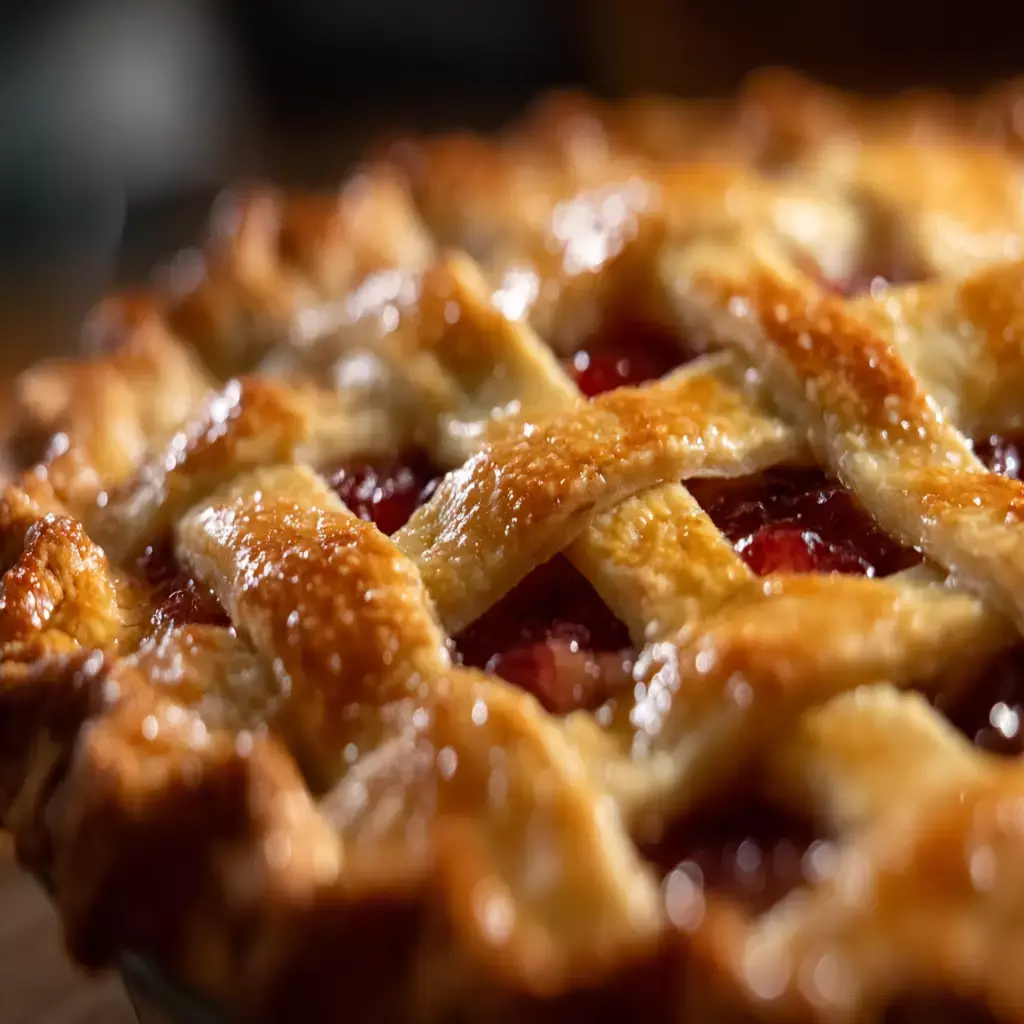
- Great for Special Diets — This recipe is ideal for those with gluten sensitivity or celiac disease. The gluten-free flour blend ensures the crust remains tender and flaky while being completely safe for gluten-free diets.
- Classic Flavor without Gluten — The apple filling is made with tender apples, sugar, and warm spices, creating a classic flavor profile. Pre-cooking the filling ensures a thick, saucy center and a crisp bottom crust.
- A Family Favorite Dessert — Warm spices and a flaky crust make this a nostalgic dessert everyone will love, whether they follow a gluten-free diet or not.
Ingredients for Gluten Free Apple Pie
Before you start baking, it is important to have all the necessary ingredients ready. Making a gluten-free apple pie requires a thoughtful selection of ingredients to ensure the best flavor and texture.
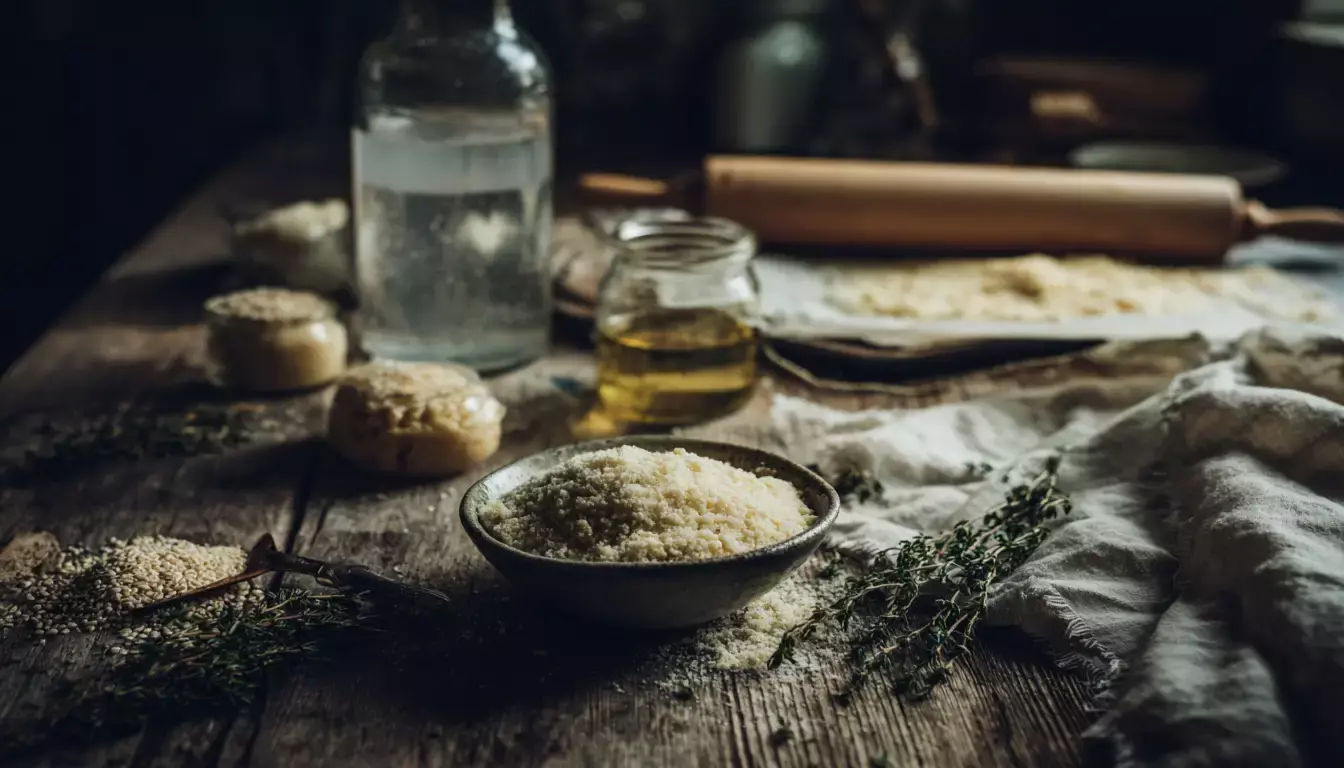
For the Gluten-Free Pie Crust
- Gluten-free 1:1 baking flour — 340g, includes xanthan gum for structure
- Sugar — 1 tablespoon, balances flavor
- Salt — 1 teaspoon, enhances overall flavor
- Cold unsalted butter — 2 sticks (226g), cubed, essential for flaky layers
- Ice water — 2–4 tablespoons, binds dough without warming it
- Sour cream — 2 tablespoons, adds moisture and tenderness
- White vinegar — 1 teaspoon, improves dough texture and elasticity
- Egg — 1 large, beaten for egg wash
- Coarse sugar — 1 tablespoon for topping (optional)
For the Apple Filling
- Granny Smith apples — 4 lbs (6–7 large), peeled and sliced
- Unsalted butter — 2 tablespoons, for richness
- Brown sugar — ½ cup packed, for depth
- Granulated sugar — ¼ cup
- Ground cinnamon — 1 teaspoon, classic warm spice
- Ground nutmeg — ¼ teaspoon, adds warmth
- Ground allspice — ¼ teaspoon, enhances spice profile
- Salt — a pinch to balance flavors
- Lemon zest and juice — from 1 lemon, brightens the filling
- Cornstarch — 2 tablespoons, thickens filling
- Water — 2 tablespoons, mixed with cornstarch to make slurry
Egg wash: Beat 1 egg with 1 tablespoon of water and brush over the top crust before baking for a beautiful golden finish.
Apple variety tip: Granny Smith holds its shape beautifully during baking. For a sweeter pie, replace up to half the Granny Smith apples with Fuji or Gala.
Flour tip: Always use the spoon-and-level method to measure gluten-free flour — never scoop directly from the bag, as this packs the flour and will make your crust dense.
Making the Perfect Gluten Free Pie Crust
The foundation of a great gluten-free apple pie lies in its crust, which can be surprisingly easy to make. With the right techniques and ingredients, you can achieve a crust that is both flaky and delicious.
Best Gluten Free Flour Options
Choosing the right gluten-free flour is important for a great pie crust. Use a pre-mixed gluten-free 1:1 baking flour blend that already contains xanthan gum — this is what gives the dough its elasticity and structure in place of gluten. Popular reliable brands include Bob’s Red Mill 1-to-1, King Arthur Measure for Measure, and Cup4Cup. Always use the spoon-and-level method for accurate measurement.
The Secret to Flaky Texture
A flaky texture is achieved by incorporating cold butter into your flour mixture without overworking the dough. The cold butter creates pockets of steam during baking, which separates the layers and produces that signature flaky texture. Keep everything cold — even chill your mixing bowl if your kitchen is warm. Work quickly and stop mixing as soon as the dough comes together.
Rolling and Shaping Tips
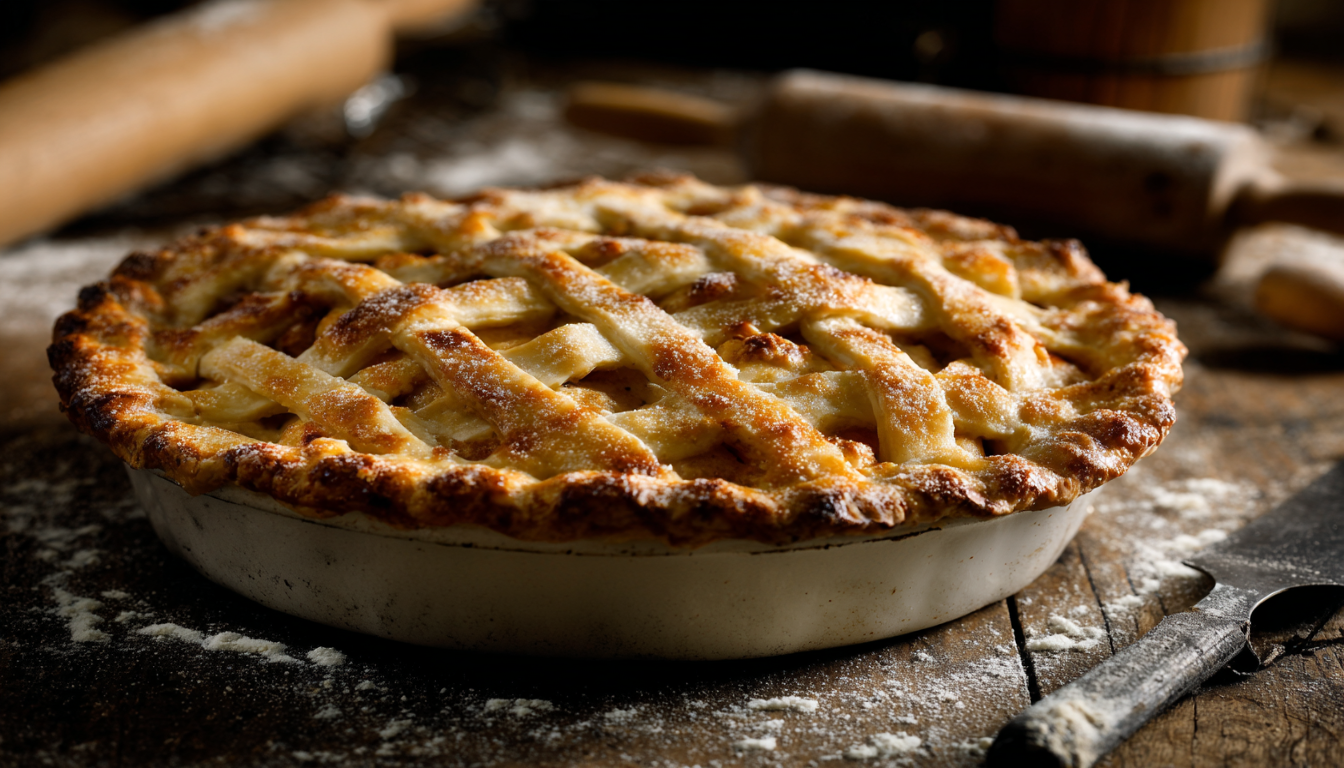
To prevent your gluten-free pie crust from sticking and tearing, always roll it between two sheets of plastic wrap or parchment paper. This technique makes it easier to transfer the crust to your pie plate without it breaking apart. Gluten-free dough is more fragile than traditional dough, so handle it gently. If you notice any cracks after transferring, simply press them together with your fingertips to seal.
Pre-baking Considerations
Before baking, chill your divided dough discs for at least one hour — this is non-negotiable for gluten-free crust. The chilling time allows the gluten-free flours to fully hydrate and the butter to firm up again. When you are ready to roll, let the dough sit at room temperature for exactly 15 minutes — not longer — so it becomes pliable without getting too soft to handle.
Preparing Your Apple Filling
A great gluten-free apple pie starts with a well-prepared apple filling. The quality and preparation of your filling makes a significant difference in the final result. Pre-cooking is the most important step many home bakers skip — and it is what separates a soggy pie from a perfect one.
Choosing the Right Apples
Selecting the right apples is critical for a delicious, structured filling. You want a mix of tart and sweet apples to achieve balanced flavor and texture. Granny Smith apples are the gold standard for pie because they hold their shape during baking and provide pleasant tartness. Aim to use at least one tart variety.
Granny Smith — for tartness and structure (use as the base)
Fuji or Gala — for natural sweetness
Honeycrisp — for a balance of both
Slice apples to a uniform ¼-inch thickness for even cooking.
Pre-cooking Method for Perfect Texture
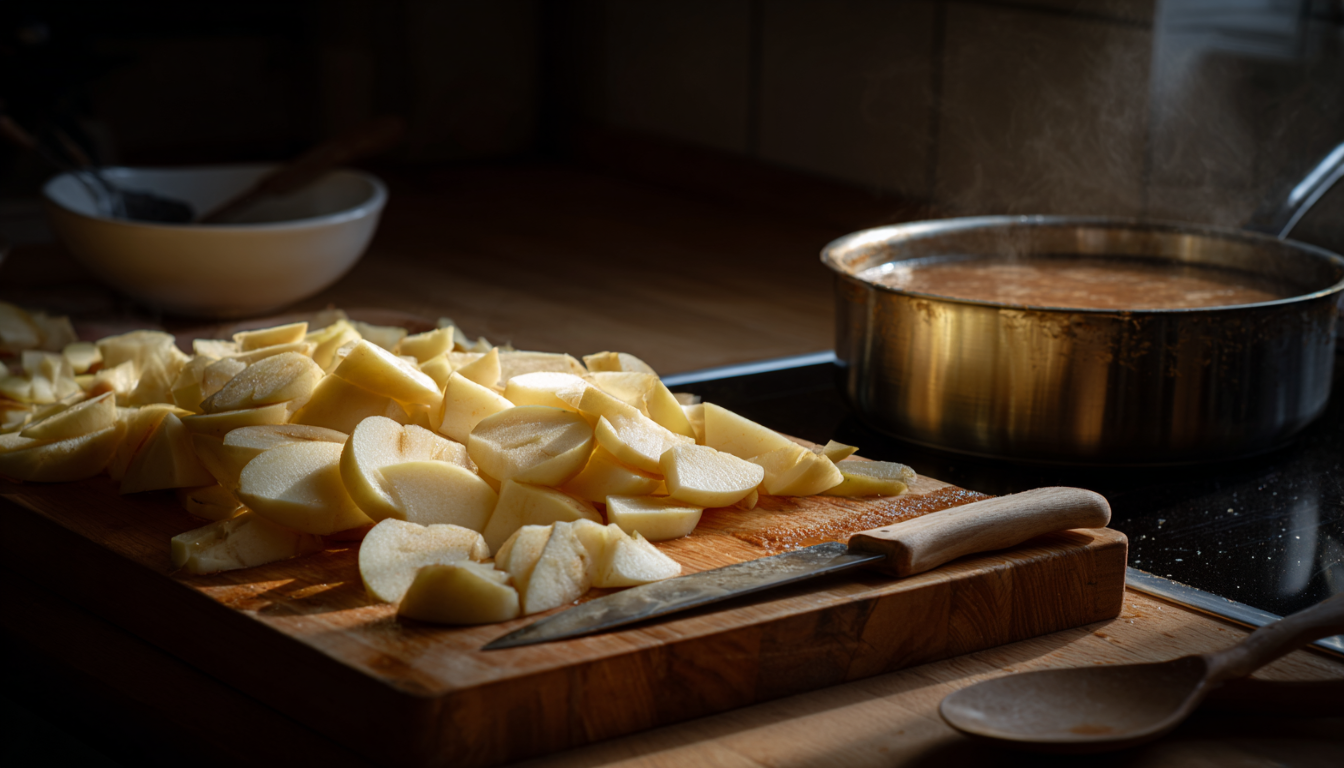
Pre-cooking your apple filling is the key step that prevents a soggy bottom crust. Cook sliced apples with butter, brown sugar, granulated sugar, cinnamon, nutmeg, allspice, salt, lemon zest, and lemon juice over medium heat for about 10 minutes, stirring occasionally, until the apples are slightly softened and have released their juices. Stir in the cornstarch mixed with water and cook for another 1–2 minutes until the sauce thickens. Remove from heat and allow the filling to cool completely before assembling your pie — this is important, as hot filling will melt your crust.
Balancing Sweetness and Spice
The combination of brown sugar and granulated sugar adds depth and caramel-like richness, while cinnamon, nutmeg, and allspice provide warmth. The lemon juice and zest are essential — they brighten all the flavors and prevent the apples from tasting flat. Taste your filling after cooking and adjust sugar to your preference before it cools.
Step-by-Step Gluten Free Apple Pie Assembly
With your pie crust chilled and your apple filling cooled completely, you are ready to assemble. Take your time with each step — gluten-free dough is more delicate than traditional dough but works beautifully when handled carefully.
-
Prepare the bottom crust: Remove one dough disc from the refrigerator and let it rest at room temperature for 15 minutes. Roll it between two sheets of plastic wrap to approximately ¼-inch thickness and about 12 inches in diameter. Remove the top sheet of plastic wrap, carefully flip the dough over a 9-inch metal pie plate, ease it gently into the edges, then remove the second sheet of plastic. Do not stretch the dough — let it settle naturally into the plate.

- Add the filling: Pour your fully cooled apple filling into the prepared bottom crust. Distribute evenly across the base, mounding it slightly in the center. The filling should be completely cold — warm filling will make the bottom crust soggy before it even goes in the oven.
- Apply the top crust: Roll out the second dough disc the same way as the first. You can use a traditional solid top crust with vents, a lattice pattern, or leave it open for a Dutch-style crumb topping (see Variations). For a solid top, center it over the filling and trim the overhang to about ½ inch beyond the edge of the plate.
- Seal and crimp the edges: Fold the top crust edge under the bottom crust and press firmly to seal. Crimp the edges using your fingers or a fork. Cut 5–6 small vents in the top crust to allow steam to escape during baking — this prevents the crust from puffing up and cracking.
- Apply egg wash and sugar: Beat 1 egg with 1 tablespoon of water. Brush this egg wash evenly over the entire top crust, including the crimped edges. Sprinkle with coarse sugar for a beautiful sparkle and added crunch. Refrigerate the assembled pie for 15–20 minutes before baking.
Baking Your Gluten Free Apple Pie
Baking a gluten-free apple pie requires precision and the right techniques. The two-temperature baking method used here gives you a deeply golden, fully cooked crust with a bubbly, set filling every time.
Temperature and Timing Guidelines
Step 1: Preheat your oven to 400°F (205°C). Place an empty baking sheet on the lowest rack and let it heat up with the oven — this is your secret weapon for a crisp bottom crust.
Step 2: Place the pie directly on the hot baking sheet. Bake at 400°F for 35 minutes.
Step 3: Cover the edges loosely with aluminum foil or a pie shield to prevent over-browning. Reduce the oven temperature to 375°F (190°C) and continue baking for another 35–40 minutes.
Total bake time: 70–75 minutes.
Preventing a Soggy Bottom
Three steps work together to prevent a soggy bottom: pre-cooking the filling (removes excess moisture), using a metal pie plate (conducts heat better than glass or ceramic), and placing the pie on a preheated baking sheet (immediately crisps the bottom). Do not skip any of these steps — each one matters for a perfect result.
How to Tell When It is Done
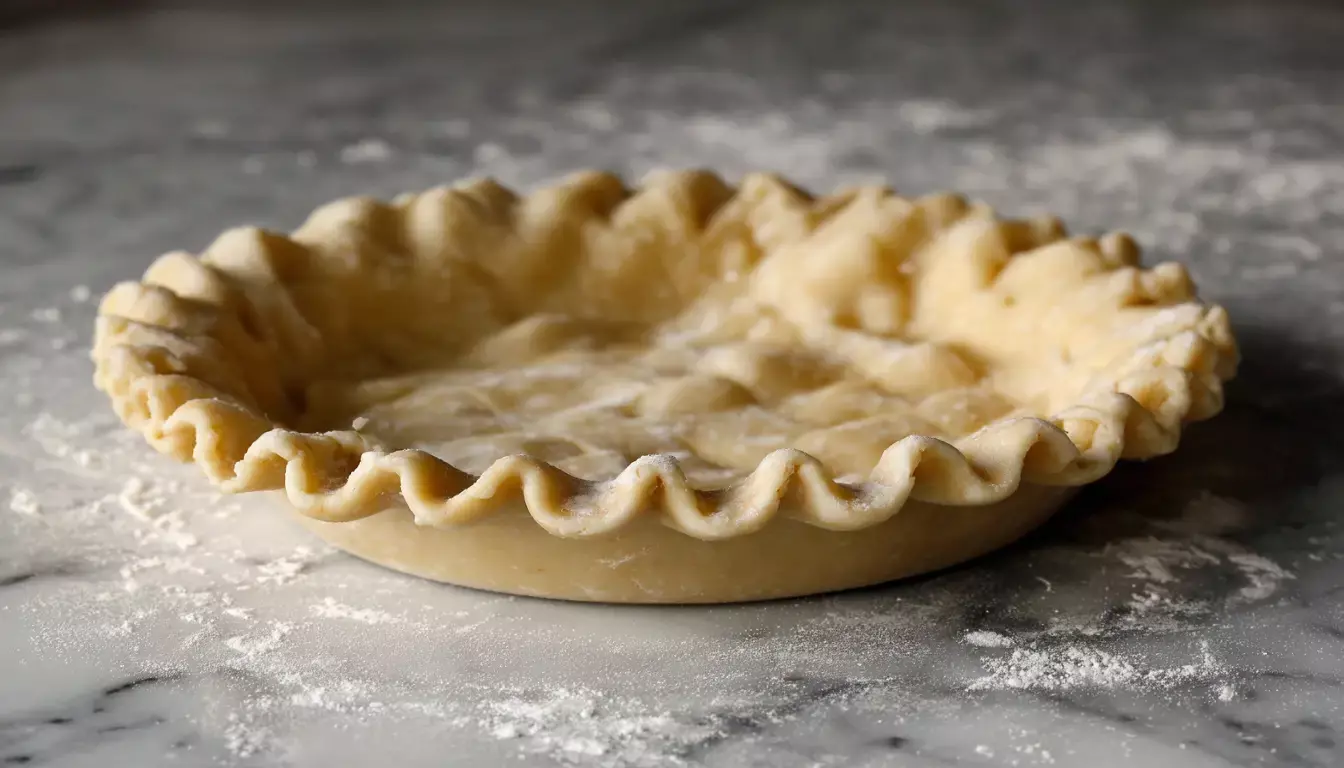
Your gluten-free apple pie is fully baked when the top crust is deep golden brown and you can see the filling bubbling through the vents. The bubbling is important — it indicates the filling has reached the correct temperature for the cornstarch to fully activate and set. If the crust is golden but the filling is not yet bubbling, continue baking and check every 5 minutes.
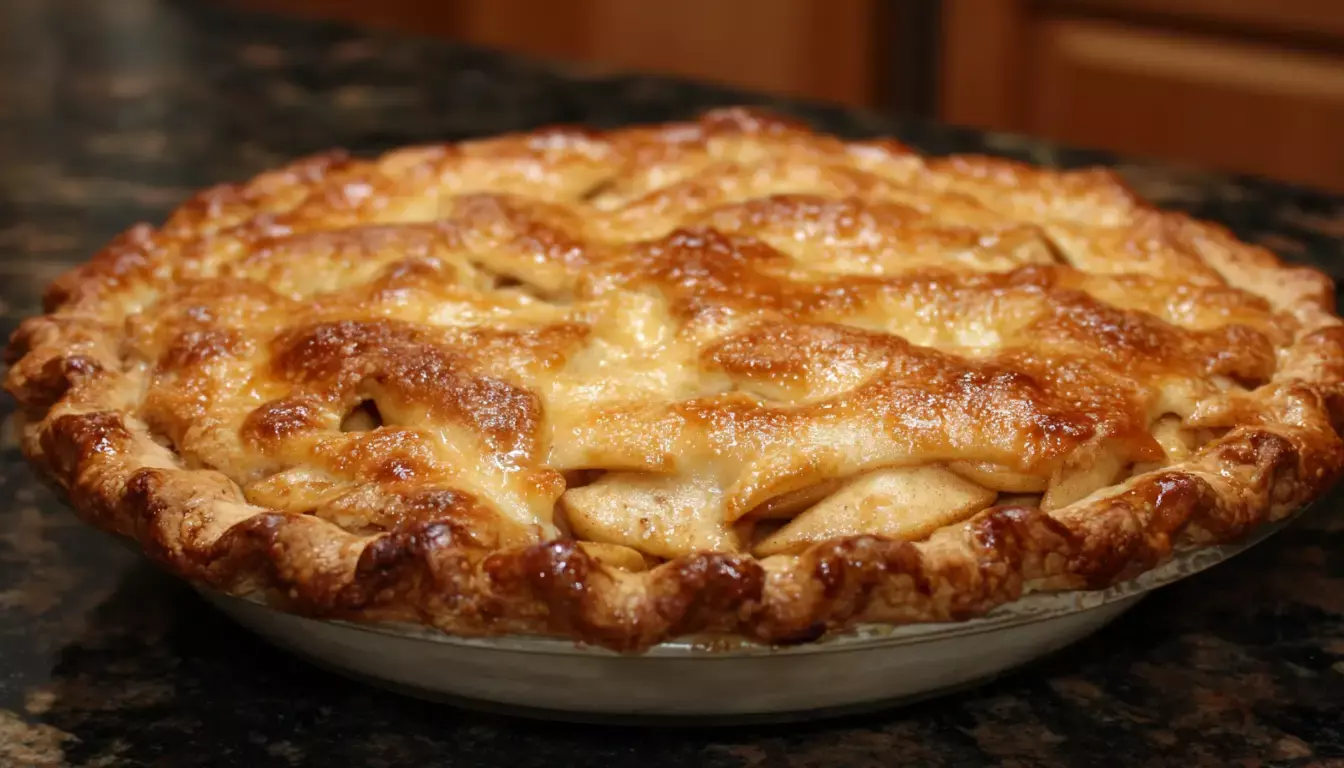
Allow the pie to cool on a wire rack for a minimum of 3 hours before slicing. Cutting into a warm pie will result in a runny filling that has not set. The cornstarch needs time to fully thicken as the pie cools. For the cleanest slices, you can even refrigerate overnight and serve at room temperature.
Variations on Classic Gluten Free Apple Pie
Explore new flavors and textures by trying these unique twists on the classic gluten-free apple pie. Each variation is easy to achieve and makes the recipe feel fresh and exciting.
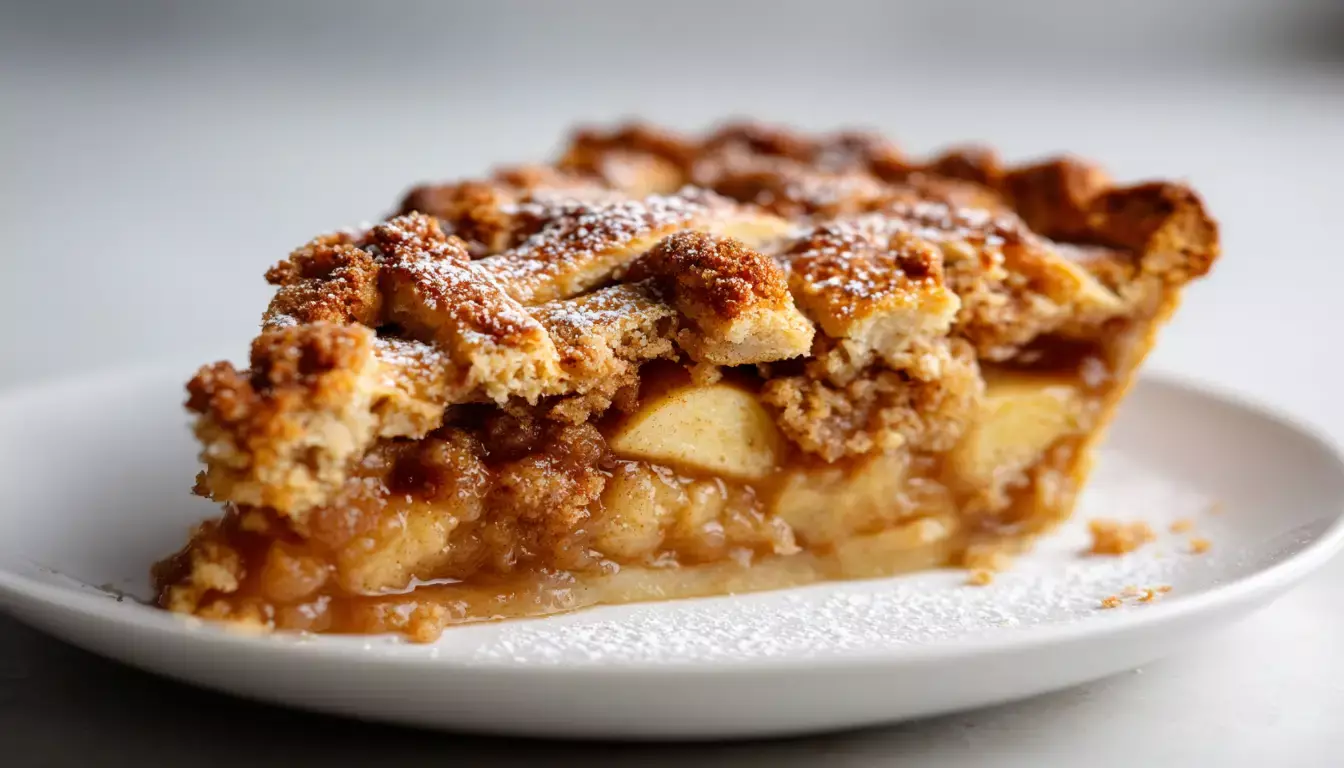
Dutch Apple Pie with Crumb Topping
For a Dutch apple pie variation, skip the top pastry crust entirely and replace it with a golden crumb topping. This is a great option if your top crust tears during rolling.
Mix together: ¾ cup gluten-free 1:1 flour, ½ cup packed light brown sugar, ½ teaspoon cinnamon, and a pinch of salt. Cut in 6 tablespoons cold butter until the mixture resembles coarse crumbs. Sprinkle evenly over the apple filling before baking.
Dairy-Free Adaptations
To make your gluten-free apple pie completely dairy-free, substitute the butter and sour cream with plant-based alternatives. The result is just as delicious and flaky.
- Replace butter with cold dairy-free shortening or vegan butter sticks for the crust — keep it very cold for best results
- Use dairy-free sour cream or plain coconut yogurt in place of regular sour cream
- Replace the filling butter with dairy-free butter or coconut oil
- Serve with dairy-free vanilla ice cream or coconut whipped cream
Extra Flavor Additions
Enhance your gluten-free apple pie with additional flavors that complement the warm spices beautifully.
- Caramel Apple Pie: Drizzle 3–4 tablespoons of caramel sauce over the apple filling before adding the top crust
- Maple Apple Pie: Replace the granulated sugar with pure maple syrup (reduce by 1 tablespoon since maple syrup adds extra moisture)
- Cardamom Spice: Add ¼ teaspoon of ground cardamom to the filling for a fragrant, aromatic twist
- Apple Pear Pie: Replace half the apples with firm ripe pears for a more delicate, floral filling
The pie is best enjoyed on the day it is baked. However, you can prepare the crust and filling separately up to two days in advance, store them in the refrigerator, and assemble just before baking.
Nutritional Information
This gluten-free apple pie is a delightful indulgence best enjoyed in moderation. Here is the approximate nutritional breakdown per serving (1 slice, about ⅛ of pie):
| Nutrient | Amount | % Daily Value* |
|---|---|---|
| Calories | 320 kcal | 16% |
| Total Fat | 14g | 18% |
| Saturated Fat | 7g | 35% |
| Cholesterol | 40mg | 13% |
| Sodium | 180mg | 8% |
| Total Carbohydrates | 44g | 16% |
| Dietary Fiber | 2g | 8% |
| Sugars | 28g | 56% |
| Protein | 4g | 8% |
*Percent Daily Values are based on a 2,000 calorie diet. Your daily values may be higher or lower depending on your calorie needs.
More Summer Dessert Recipes You Will Love
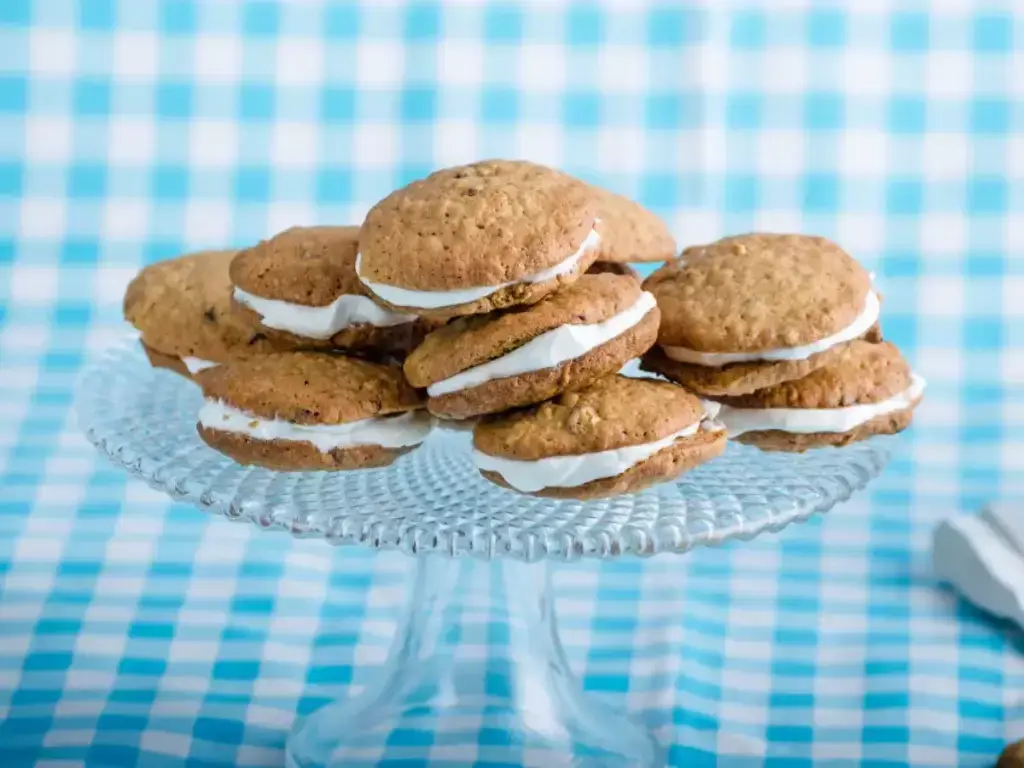
Oatmeal Cream Pie Recipe
Soft cookies with creamy filling that brings back nostalgic magic — made with real ingredients, rich vanilla cream, and fresh-baked flavor.
View Recipe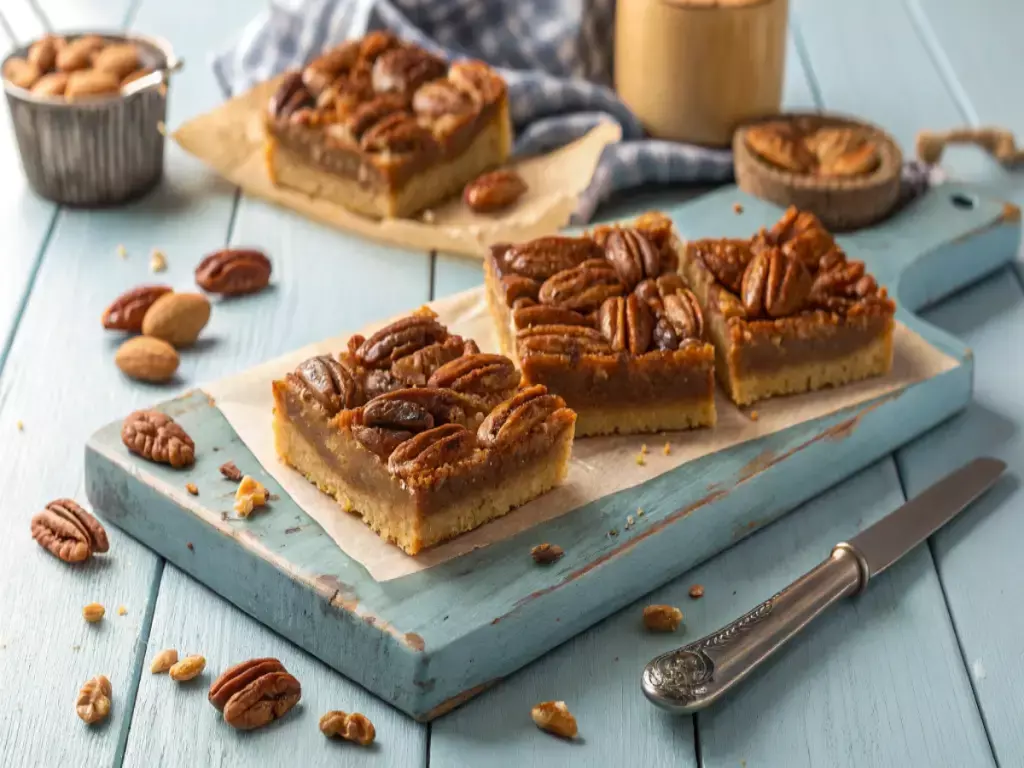
Pecan Pie Bars Recipe
Rich pecan pie bars with a buttery shortbread crust — easy to make, easy to love, and great for any dessert table.
View Recipe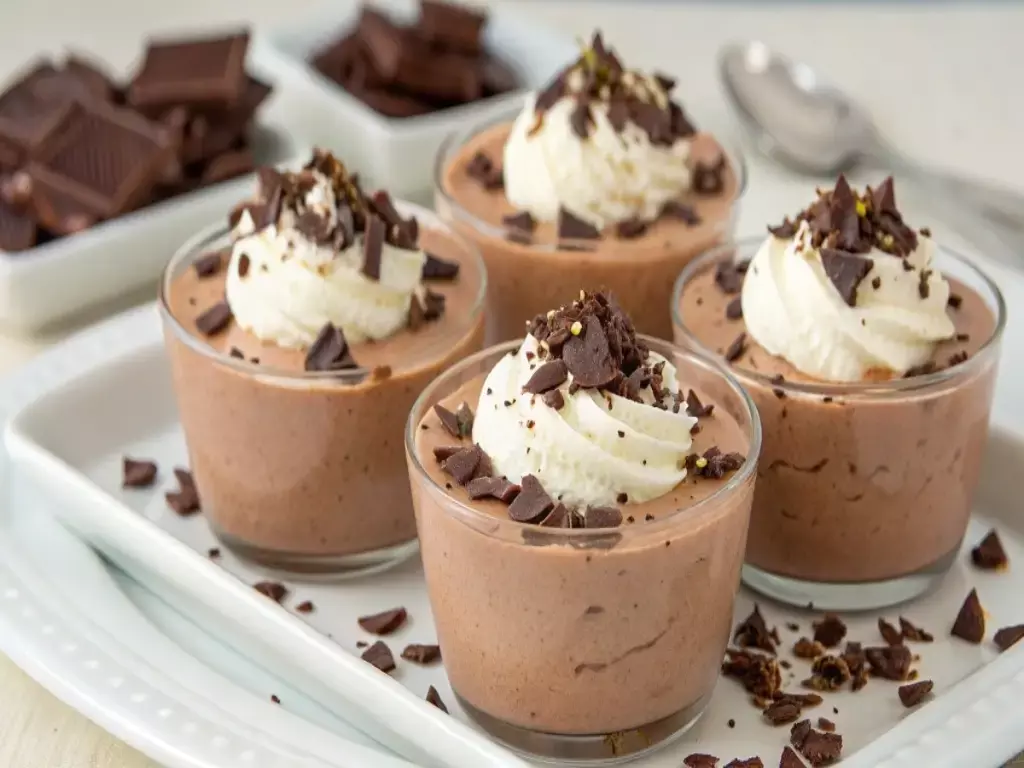
Cottage Cheese Chocolate Mousse
A creamy, protein-packed chocolate mousse made with cottage cheese — easy, healthy, and great for hot summer days.
View RecipeConclusion
You have got everything you need to create a delicious gluten-free apple pie that everyone will love. With the techniques and tips provided, you are well on your way to baking a pie with a perfectly flaky crust and a well-cooked, thick apple filling.
Remember, this gluten-free apple pie is best enjoyed the day it is baked. To make ahead, prepare the apple filling and pie crust separately, refrigerate until ready, then assemble and bake fresh. Always allow the pie to cool for at least 3 hours before slicing — this step is critical for a clean, set filling.
With practice, this recipe becomes second nature and can be adapted to suit your personal preferences and the seasons. Use Granny Smith apples as your base for the best structure and flavor, follow the two-temperature baking method, and never skip the preheated baking sheet for a perfectly crisp bottom. Happy baking!
Frequently Asked Questions
Can I make the pie crust ahead of time?
Yes, you can prepare the pie crust dough up to 2 days in advance. Store it in the refrigerator, wrapped tightly in plastic wrap, or freeze it for up to 2 months. Thaw frozen dough overnight in the refrigerator, then let it sit at room temperature for 15 minutes before rolling.
What type of apples are best for this recipe?
Granny Smith apples are the best choice as a base — they are tart, firm, and hold their shape during baking without turning mushy. For a sweeter, more complex flavor, replace up to half the Granny Smith apples with Fuji, Gala, or Honeycrisp. Avoid Red Delicious apples, as they become too soft and watery when baked.
How do I prevent the pie crust from becoming too brown?
To prevent over-browning, loosely cover the edges with strips of aluminum foil or use a pie shield after the first 35 minutes of baking. You can also reduce the oven temperature to 375°F earlier if you notice the edges darkening too quickly. The top of the pie should be a deep golden brown — not pale, and not burnt.
Can I use a pre-made pie crust?
While a homemade pie crust gives the best flavor and flakiness, you can use a store-bought gluten-free pie crust in a pinch. Look for brands that use butter rather than shortening for the best flavor. Follow the package instructions for thawing and handling, as pre-made gluten-free crusts can be more fragile than homemade.
How do I store leftover pie?
Store leftover pie loosely covered at room temperature for up to 2 days. For longer storage, refrigerate for up to 5 days — note that the crust will soften in the refrigerator. To re-crisp the crust, reheat slices in a 350°F oven for 10–15 minutes. You can also freeze the whole baked pie or individual slices for up to 2 months — wrap tightly in plastic wrap and then foil before freezing.
Explore More Easy Dessert Recipes
Discover simple, delicious desserts made for every occasion — easy to follow and sure to impress.
Browse More Recipes